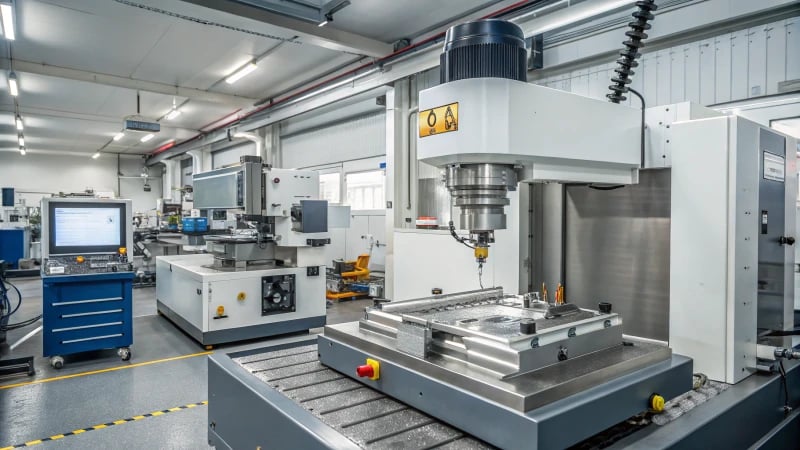
Mold production is a complex task that resembles a challenging puzzle, where accuracy is very important.
To lower errors in mold creation, regular care for machinery is crucial. Selecting tools wisely and checking them regularly helps a lot. Adjusting the right processing settings is also important. Improving mold design is a smart move. Quality inspections should be detailed and careful. Pay close attention to every step.
When I first faced the problem of dimensional deviation, it seemed like baking a perfect soufflé – every tiny thing mattered. I discovered that careful attention to equipment and tools is vital. Calibrating machines often and checking tool wear closely affect precision greatly. Optimizing the processing path and conditions, much like adjusting a recipe for height, helps everything fit well. Smart mold design, similar to creating a perfectly tailored suit, allows for enough room for expansion and contraction. Rigorous quality checks serve as our safety net, catching deviations before they go out of control. These techniques in my pocket, I see mold manufacturing as more art than science, needing patience and accuracy at each step.
Equipment precision maintenance reduces dimensional deviation.True
Regular maintenance ensures equipment operates accurately, minimizing deviations.
Ignoring tool selection has no effect on dimensional accuracy.False
Proper tool selection is crucial for maintaining dimensional accuracy in molds.
- 1. How Can Equipment Precision Maintenance Improve Mold Accuracy?
- 2. How Does Tool Selection Impact Dimensional Accuracy?
- 3. Why is process optimization crucial in mold manufacturing?
- 4. How Does Mold Design Affect Dimensional Stability?
- 5. What Are the Key Steps in Quality Inspection and Feedback?
- 6. Conclusion
How Can Equipment Precision Maintenance Improve Mold Accuracy?
Ever think about why some molds fit just right while others don’t? The secret often rests in careful precision work.
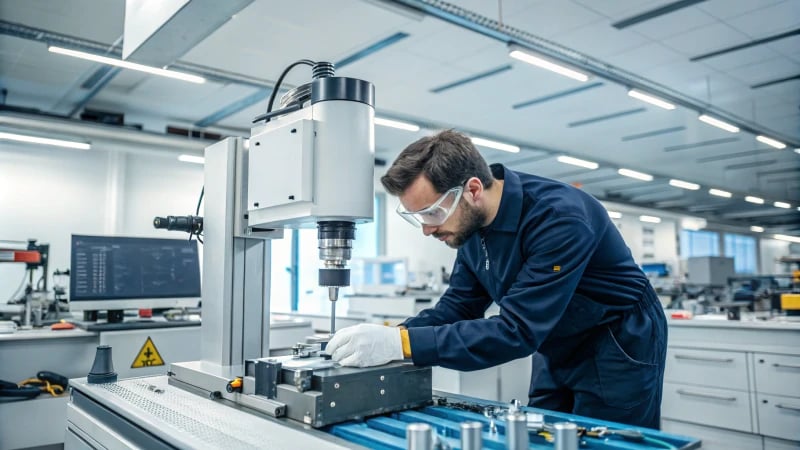
Precision maintenance keeps equipment like CNC machines and EDM tools properly adjusted and checked. This reduces errors in mold production. Mold accuracy and quality rise when maintenance is good. Products meet exact specifications.
Importance of Keeping Equipment Precise
Maintaining precision in equipment is crucial for achieving mold accuracy. I remember the first time I saw how important keeping equipment precise was for mold accuracy. It changed everything for us in manufacturing. Checking and tuning machines regularly is key to them working well. Machines like CNC milling and EDM equipment need this care. Small tools like laser interferometers check if parts are in the right place, maintaining a precision level of ±0.01mm, which I found amazing.
Ways to Check and Tune Machines
Calibration makes me think of my early days in manufacturing. Adjusting machine settings felt like tuning a musical instrument. Establishing maintenance logs is key—recording maintenance times, content, and post-check accuracy ensures a comprehensive history of the equipment’s performance.
| Equipment | Calibration Method | Accuracy Standard |
|---|---|---|
| CNC Milling | Laser Interferometer | ±0.01mm |
| EDM Machines | Positioning Test | ±0.02mm |
Picking and Watching Tools
Choosing the right tool is like finding a perfect buddy for a job. Picking tools based on what material needs gives the best results, like using carbide tools for hard steel molds.
Real-time monitoring of tool wear stops size mistakes. Systems alert when tool wear reaches a threshold (e.g., 0.2mm), allowing timely replacements. Once, I ignored a tool alert and a small error showed me why timely changes matter.
Good Things About Precise Maintenance
Following precise maintenance steps gives big advantages in my work:
- Fewer Size Mistakes: Accurate maintenance means molds meet design needs and cut waste significantly.
- Better Product Quality: Really precise molds mean better products, always impressing clients.
- Longer Machine Life: Regular tune-ups keep machines from breaking down and last longer, saving money.
For anyone eager to improve mold manufacturing methods, look into better processing parameter methods1. They offer ways to improve, such as changing cutting speeds and adjusting settings—these ideas can completely change how you work.
CNC milling machines require laser interferometer calibration.True
Laser interferometers ensure CNC milling machines maintain ±0.01mm accuracy.
Tool wear monitoring is unnecessary for mold accuracy.False
Real-time monitoring prevents deviations by alerting when wear reaches 0.2mm.
How Does Tool Selection Impact Dimensional Accuracy?
Have you ever thought about why some manufactured parts fit perfectly, while others feel a bit off?
Choosing the right tools is key for getting precise measurements in manufacturing. Workers pick materials and sizes that reduce wear. They help performance. They want consistent results. This careful choice keeps machine parts accurate and whole. It is very crucial.
Influence of Tool Materials
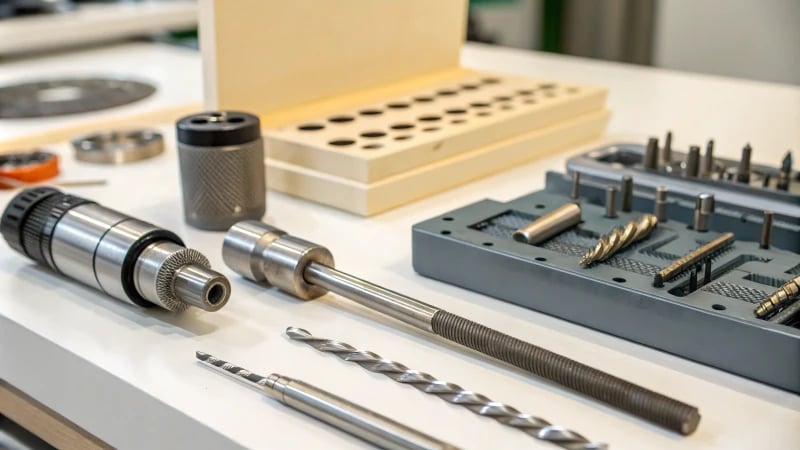
I remember the first time I noticed how important the right tool could be. I worked on a project with some really tough mold steels. Carbide tools made a huge difference – they didn’t just cut the material; they moved through it effortlessly, handling high temperatures smoothly. This experience taught me that carbide tools last long and work well, reducing potential mistakes. They really do.
Choosing the correct tool material is crucial. For example, when machining hard mold steels, carbide tools are often preferred due to their durability and performance2. They can withstand high temperatures and pressures without deforming, thereby reducing potential deviations.
Tool Geometry and Dimensions
In a tricky manufacturing job, I discovered the value of proper tool geometry. It felt like trying to fit a square peg in a round hole until I understood that choosing the right blade lengths and diameters was important. Tailoring these to the cutting process avoided material bending, lining everything up perfectly. Absolutely perfect.
The geometry and dimensions of a tool significantly impact precision. By selecting tools with appropriate blade lengths and diameters, manufacturers can tailor the cutting process to meet specific accuracy requirements. This customization helps prevent material distortion during cutting.
| Tool Type | Ideal Material Usage | Benefits |
|---|---|---|
| Carbide | Hard Steels | High durability |
| High-Speed Steel (HSS) | Softer Alloys | Cost-effective |
| Ceramic | High Temperature Alloys | Excellent thermal resistance |
Monitoring Tool Wear
Regularly checking tool wear became essential after a costly error where worn tools caused big inaccuracies. Buying a tool wear monitoring system changed everything. It warns me when wear hits critical levels, around 0.2mm on the tool’s back face, allowing timely replacements and keeping inaccuracies far away. Very far.
Regular monitoring of tool wear is vital. A tool wear monitoring system3 can alert operators when wear reaches critical levels. For instance, when the tool’s back face wear hits 0.2mm, it should be replaced to prevent inaccuracies.
Integration with CNC Systems
CNC systems with advanced monitoring technologies have been a revelation. These systems let me adjust machining parameters instantly, a must for consistent dimensions and better product quality. By using these technologies, operating within ideal limits consistently is possible, reducing errors and improving production results. They truly do.
Modern CNC systems can integrate advanced monitoring technologies that enhance tool performance tracking. This integration allows for real-time adjustments4 to machining parameters, thus maintaining dimensional consistency.
Employing these strategies ensures that tools operate within optimal parameters, greatly reducing the risk of deviations and enhancing overall product quality.
Carbide tools are ideal for machining hard mold steels.True
Carbide tools resist high temperatures and pressures, reducing deviations.
Tool wear monitoring is unnecessary for maintaining accuracy.False
Monitoring tool wear prevents inaccuracies by timely replacing worn tools.
Why is process optimization crucial in mold manufacturing?
Do you ever feel like mold manufacturing is a tricky Jenga game? One wrong move and all could fall apart. Process optimization helps keep everything in perfect order.
Optimizing processes in mold manufacturing is very important. It reduces the chances of mistakes in dimensions. Quality improves significantly. Costs go down because machines work better. Adjusting processing settings helps a lot. Designers also find better ways to perfect their work.
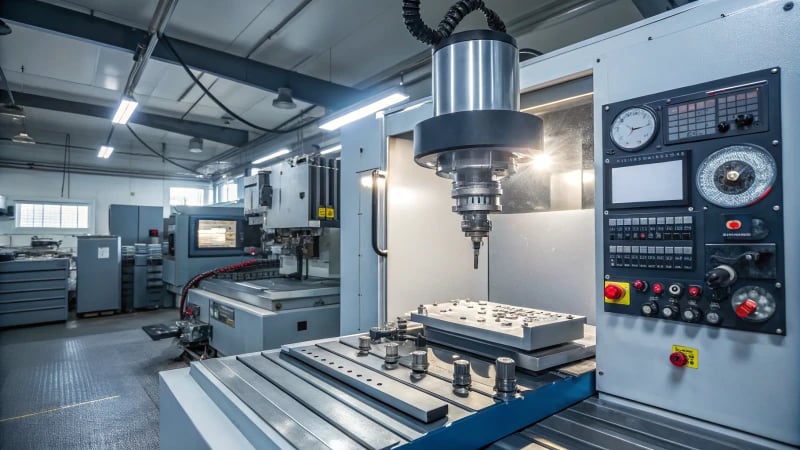
Equipment and Tool Management
During my early days with CNC machines, missing maintenance lessons taught me that neglect leads to more machine stops. Regular check-ups became essential. Once, a laser interferometer helped me greatly by checking machine positioning accuracy. Keeping within ±0.01mm accuracy meant the difference between winning and losing contracts.
Creating detailed maintenance files for each piece of equipment, recording maintenance time, content, and accuracy parameters post-calibration can greatly enhance operational efficiency.
Proper tool selection5 really matters. Imagine working with hard steel using unsuitable tools – it’s like carving a turkey with a butter knife. Watching tool wear with a system acts like extra eyes, catching issues before they emerge.
Processing Process Optimization
Setting processing parameters needs care. My rule is ‘measure twice, cut once.’ Adjusting cutting speeds and feed rates feels like conducting an orchestra. Everything must flow well. When I first perfected it, the satisfaction was immense.
In EDM (Electrical Discharge Machining), fine-tuning discharge parameters like current and pulse width improves both accuracy and surface quality.
Developing a strategic process route6 creates more than just efficiency; it crafts a masterpiece. Starting with rough processing, then moving to final finishing keeps dimensions accurate beautifully.
Mold Design Optimization
Designing molds showcases my creativity. Walking a tightrope between reasonable tolerances and product needs requires skill. For key mold cavities, tolerances between ±0.01 – ±0.05mm work best for me.
Thinking of thermal expansion in designs is like baking bread – you must expect the rise. Reinforcing ribs have rescued me from endless mold shape problems.
Quality Inspection and Feedback
Quality checks serve as my secret weapon. Setting many inspection points in manufacturing acts as a safety net. Tools like calipers and micrometers are trusted friends, detecting early measurement deviations.
For complex parts, real-time online detection surprised me. Real-time monitoring allows quick adjustments, ensuring we meet high standards reliably.
Finding patterns in the data isn’t just for spotting problems – it promotes improvement by guiding adjustments in machining equipment or process parameters based on findings.
CNC machines require calibration for precision within ±0.01mm.True
Regular calibration ensures CNC machines maintain high precision levels.
High-hardness mold steel is best processed with carbide tools.True
Carbide tools are ideal for handling high-hardness materials efficiently.
How Does Mold Design Affect Dimensional Stability?
Did you ever think that a small detail in mold design might disrupt a whole production line?
Mold design greatly influences how materials stay stable in size when being made. Important parts such as tolerance, strength and heat control have a direct effect on the final size. These factors play a crucial role.

The Role of Tolerance Design7 in Dimensional Stability
I started in mold design and didn’t realize how important tolerance is. I worked on a project once. Even a tiny mistake, like 0.01mm, caused expensive changes. Tolerance design sets strict boundaries on size changes for accuracy and trust. For example, molds need precise fits. Tolerances usually range from ±0.01 to ±0.05mm, based on product needs. Precision keeps everything fitting perfectly, reducing errors.
Improving Structural Integrity8
Structural integrity taught me another hard lesson. One mold didn’t have enough support and bent under pressure. This was a big problem. Large molds need strong ribs for firm shapes and to stop bending. Smart design of demolding helps keep shape steady during production runs.
Thermal Considerations9 in Mold Design
Temperature changes sneakily change sizes through expansion or shrinking. Materials with low thermal expansion coefficients help reduce these effects. Cooling channels also help. Designs need to include temperature change adjustments. Temperature matters greatly.
| Aspect | Impact on Dimensional Stability |
|---|---|
| Tolerance | Ensures precision and fit |
| Structure | Prevents deformation |
| Thermal | Manages expansion and contraction |
Understanding these points leads to better design choices. These choices improve mold performance and mold life, resulting in better products and smoother manufacturing processes by fixing common problems like post-molding shrinkage10. Small design details have big impacts; it’s really interesting.
Tolerance design affects mold dimensional stability.True
Tolerance design ensures precision and fit, impacting dimensional stability.
Thermal expansion is irrelevant in mold design.False
Thermal expansion affects dimensional stability, needing compensation in design.
What Are the Key Steps in Quality Inspection and Feedback?
Ever felt the pressure to create every mold to meet strict standards of precision and quality?
Quality inspection and feedback require important steps. Process inspection control and data analysis play key roles. Real-time inspection tools help very much. Online detection technologies really assist in these tasks. Dimensional data needs careful analysis. Product quality benefits from these efforts. Consistent improvements happen. Product quality improves regularly.
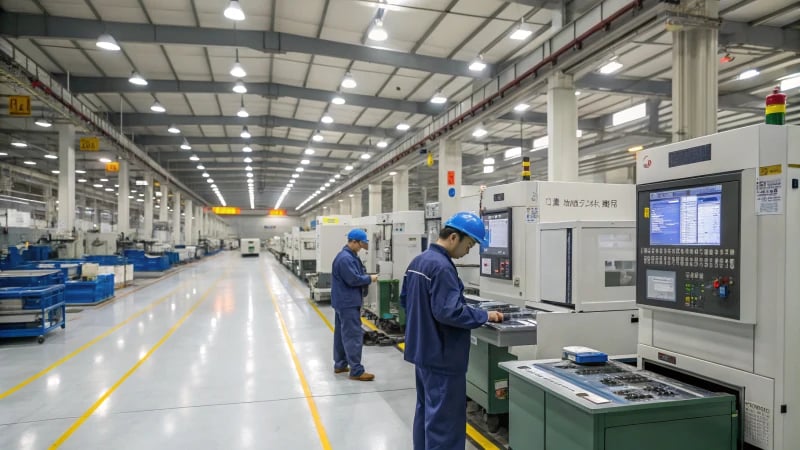
Process Inspection Control
My journey into mold manufacturing was like entering an artist’s studio. Precision became my tool, and every measurement felt like a brushstroke on a canvas. Early on, I realized the need for various quality checks. These checks were similar to race checkpoints. After each step—whether rough work or fine touches—I used tools like calipers or micrometers to check dimensions accurately. Finding mistakes early reduced future problems. This prevention was crucial.
For complicated mold parts11, online detection technology helps a lot. Systems like laser measurement act as a trusted partner. They watch dimensions in real time and alert us if things stray from the path. Always vigilant, these systems provide reassurance.
| Inspection Tools | Purpose |
|---|---|
| Calipers | Dimension checks |
| Micrometers | Precision measurements |
| Laser systems | Real-time monitoring |
Data Analysis and Improvement
Data analysis felt like solving a complex puzzle. Collecting and looking at dimensional data during production revealed patterns, much like following a trail of clues leading to causes of errors. Repeated deviations in dimensions after a process often indicated equipment failures or parameter mismatches.
Using statistical analysis12 opened new paths for growth, like mapping a route on a treasure hunt. Knowing why deviations happened guided equipment upgrades or process changes. If tool wear was the culprit, adjusting replacement schedules or choosing sturdier tools helped address the problem.
- Data Collection: Regular inspections build a strong dataset.
- Trend Analysis: Statistical methods reveal frequent problems.
- Make Adjustments: Change equipment or processes using insights.
These steps preserve high precision in mold manufacturing and support efficient production. Real-time checks combined with strong data analysis cut errors and uplift overall product quality.
Implementing Feedback Mechanisms
Adding feedback loops felt like connecting previously silent lines of communication. Setting up systematic reviews and actions became crucial for continuous improvement. Regular feedback sessions turned into chances to discuss inspection results and assess changes made.
| Feedback Mechanism | Actionable Steps |
|---|---|
| Regular Meetings | Discuss inspection findings |
| Continuous Monitoring | Adjust processes as needed |
| Employee Training | Educate staff on best practices |
This journey of quality inspection and feedback involves more than machines and measures; it crafts a story where precision and innovation lead the narrative. Having been on both sides, I can say it’s very fulfilling.
Calipers are used for real-time monitoring.False
Calipers check dimensions, but laser systems monitor in real time.
Statistical analysis helps identify equipment issues.True
It pinpoints causes of deviations like equipment or parameter problems.
Conclusion
This article outlines effective strategies to minimize dimensional deviation in mold manufacturing, focusing on equipment maintenance, tool selection, process optimization, design considerations, and quality inspection.
-
Discusses how setting appropriate machining parameters can enhance precision and mold quality. ↩
-
Carbide tools offer high durability, making them ideal for machining hard steels without deformation. ↩
-
These systems detect critical tool wear levels, prompting timely replacements to maintain precision. ↩
-
CNC systems enable real-time machining adjustments, maintaining dimensional accuracy during production. ↩
-
Understanding proper tool selection is key to achieving precision and avoiding deviations during the manufacturing process. ↩
-
Strategic process routing ensures dimensional accuracy by logically planning the sequence of manufacturing stages. ↩
-
Exploring this link will provide insights into how tolerance affects precision and cost in manufacturing. ↩
-
This link explains the benefits of reinforcing ribs in maintaining mold shape and reducing deformation. ↩
-
Understanding this concept helps in designing molds that withstand temperature changes without losing accuracy. ↩
-
Learn about strategies to address shrinkage problems post-production for better product quality. ↩
-
Explore how laser measurement systems provide real-time monitoring for complex mold components. ↩
-
Discover methods for conducting statistical analysis to identify recurring dimensional issues. ↩

