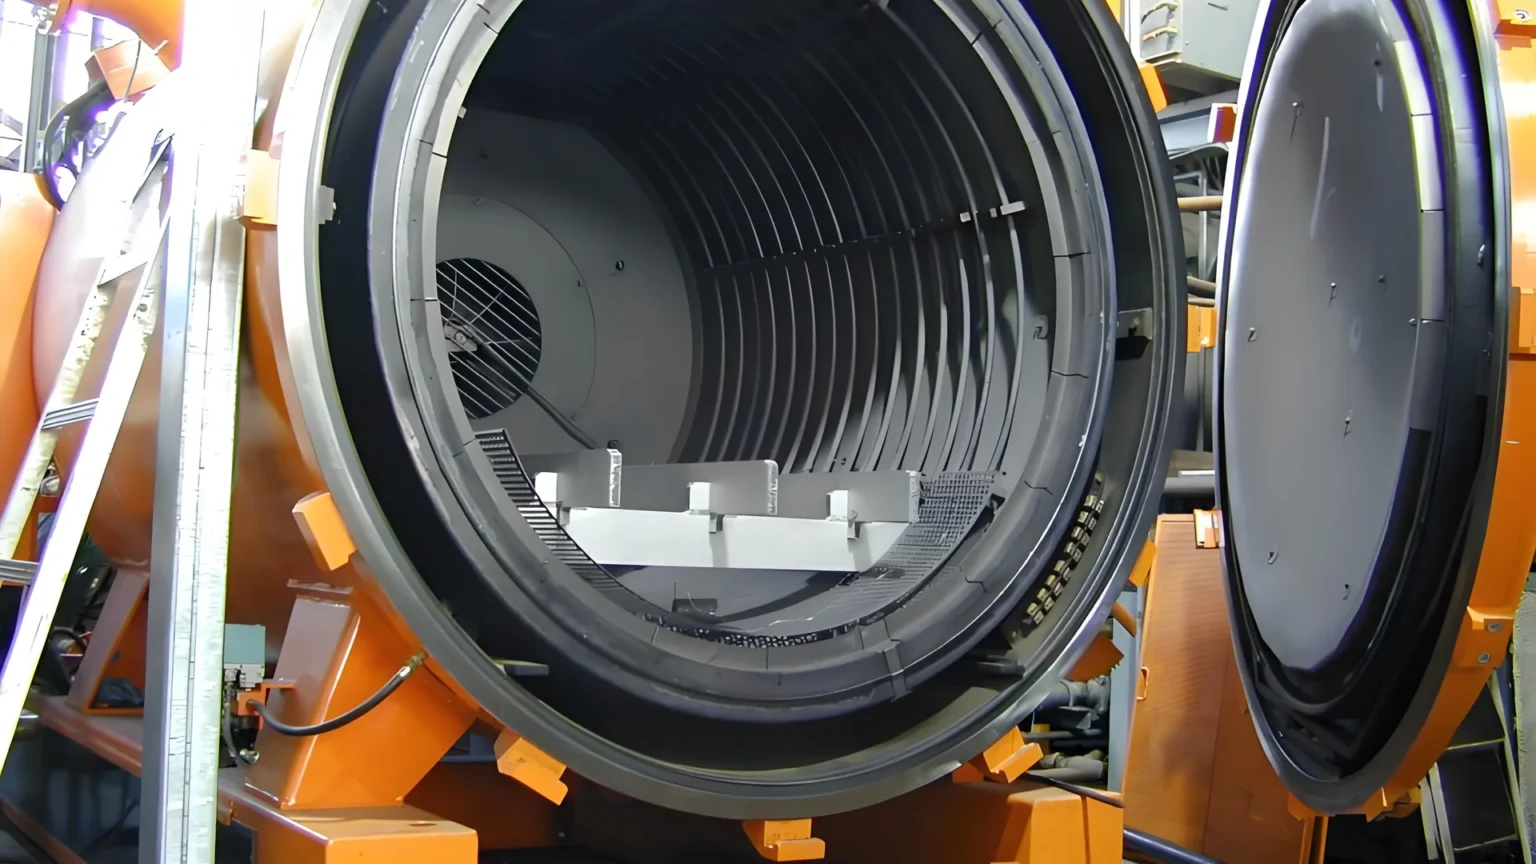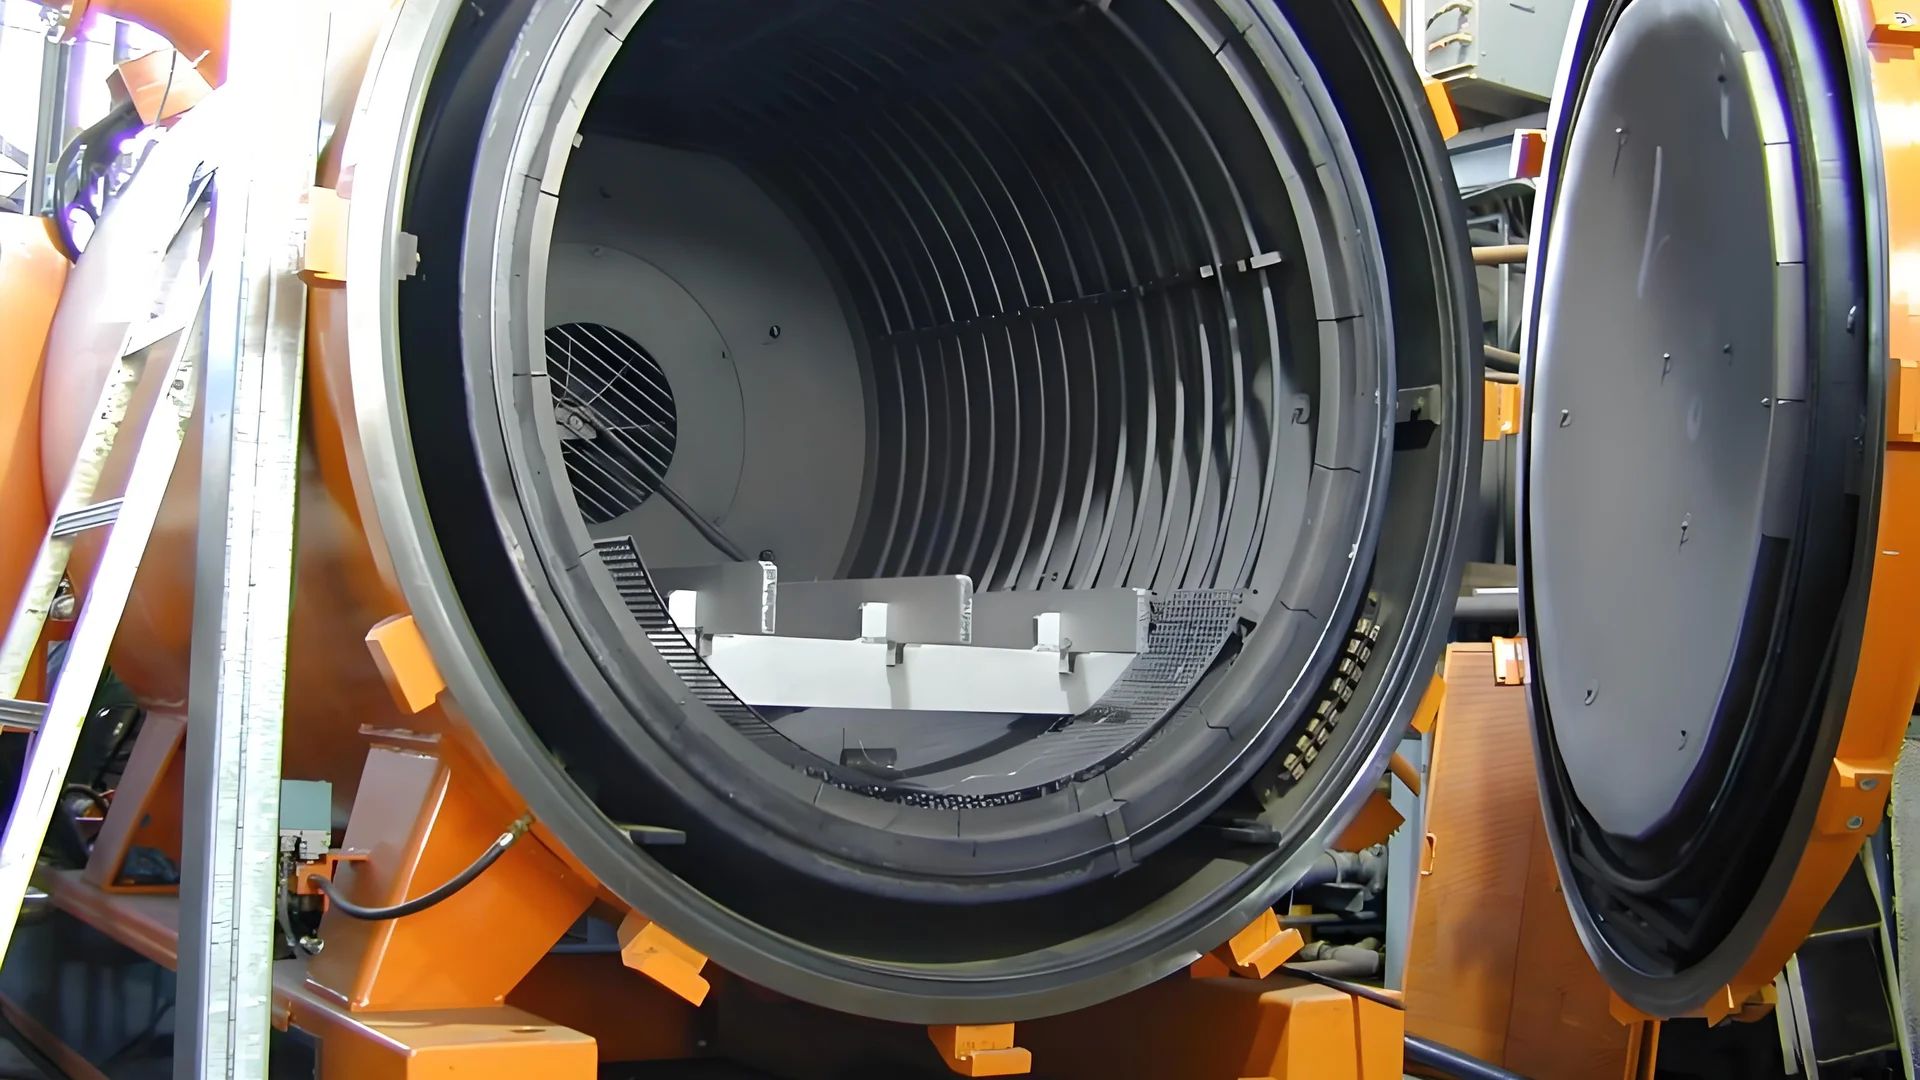
I recall the first time I found out about nitriding treatment. It truly changed how I took care of my molds.
Nitriding treatment increases mold durability. This process adds nitrogen to the mold’s surface layer. The surface becomes harder and resists wear better. Nitriding reduces friction and strengthens fatigue resistance. This method helps molds last longer. It is useful in many industrial areas.
Understanding nitriding changed everything for me. Imagine a worn-out mold that needs new life. Nitriding saves it. I start by preparing the mold carefully. No bumps or scratches remain. Key measurements help me work accurately. Cleaning is essential. Each task is important. Precision matters and patience really pays off.
The nitriding process begins with heating the mold gradually. This prevents stress. The temperature must be perfect for nitrogen to work properly. As the mold cools, I see a tough and long-lasting result. Breathing new life into old molds feels amazing. It’s no longer destined for waste. Checking dimensions and hardness after treatment shows nitriding’s power. This process transforms both molds and my way of tackling problems. Attention to detail is key.
Appearance inspection checks mold for damage and cracks.True
Appearance inspection ensures mold integrity by identifying visible defects.
Nitriding gas includes nitrogen, ammonia, and carbon dioxide.True
These gases decompose to form active nitrogen atoms for nitriding.
How does nitriding treatment transform materials?
Have you ever thought about why molds and tools become so hard and tough? Nitriding treatment gives them these amazing qualities. Let’s explore this interesting process together. Step by step.
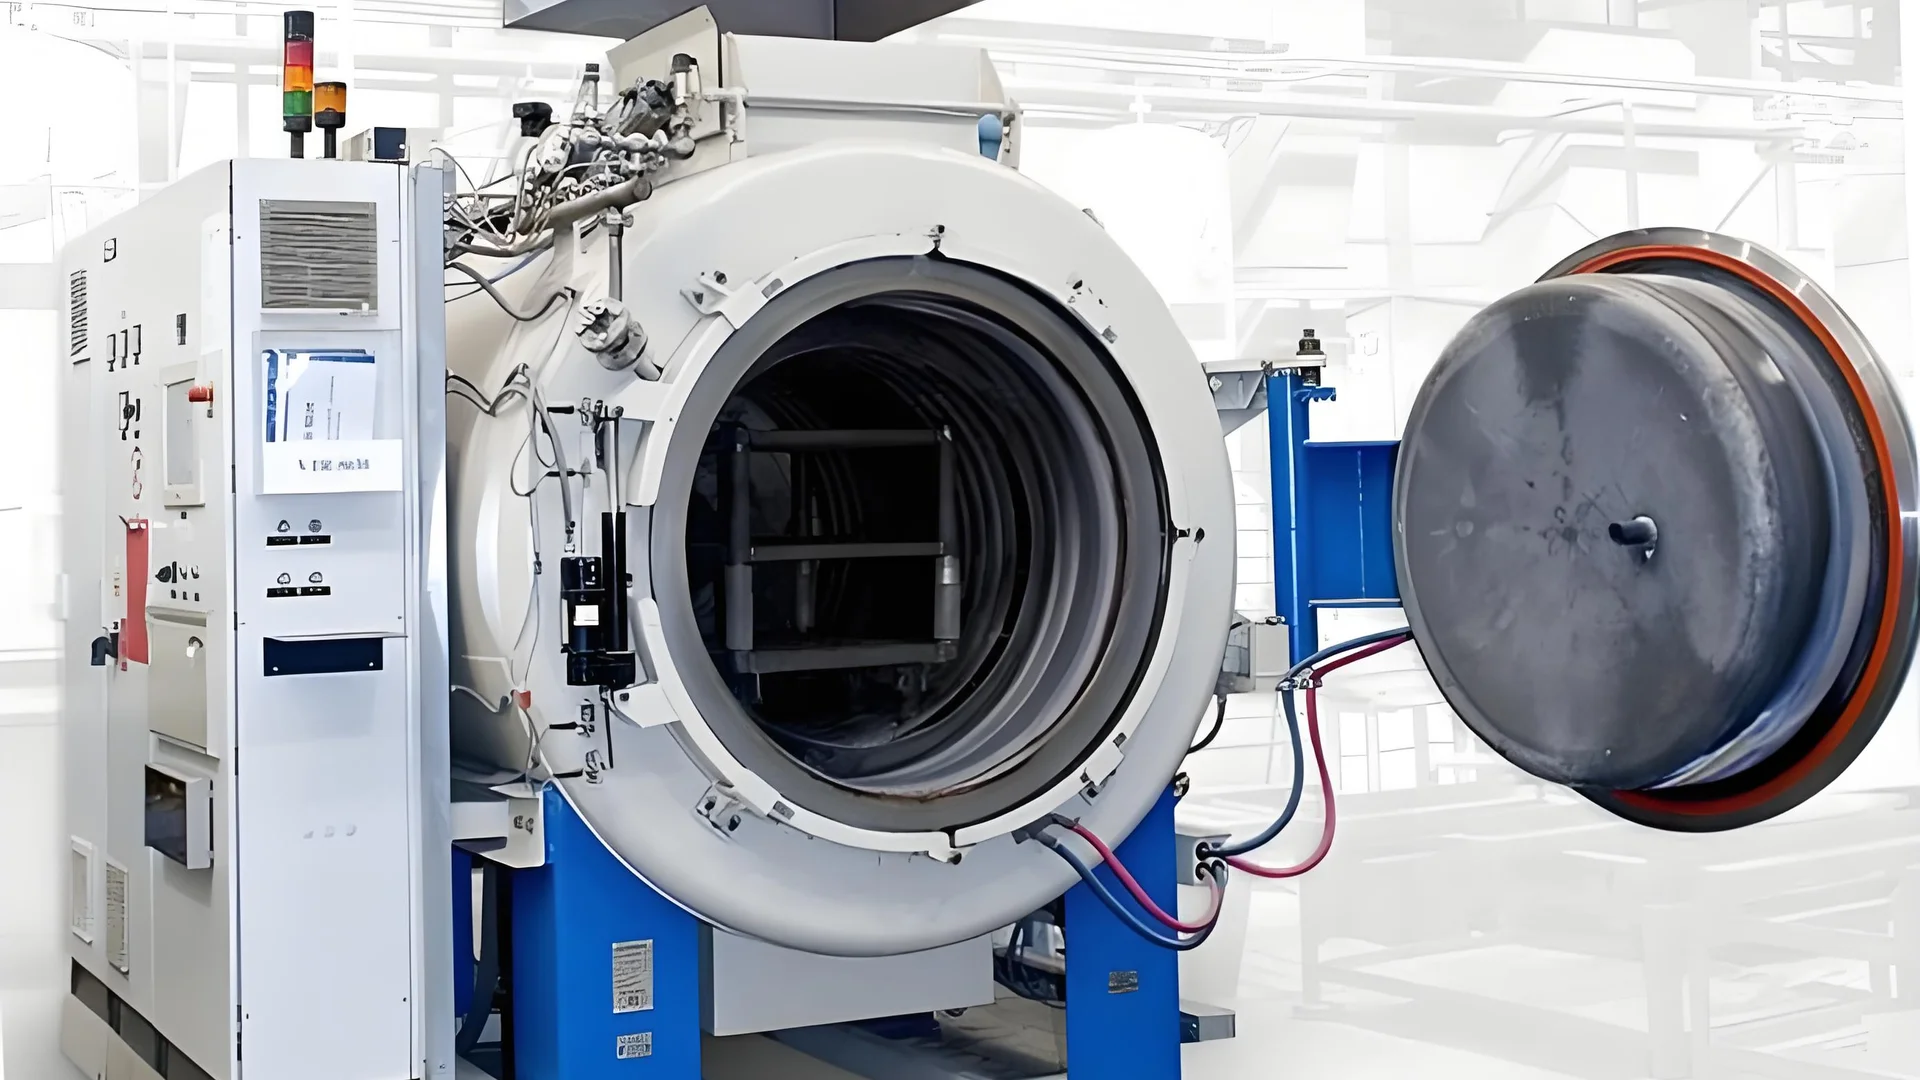
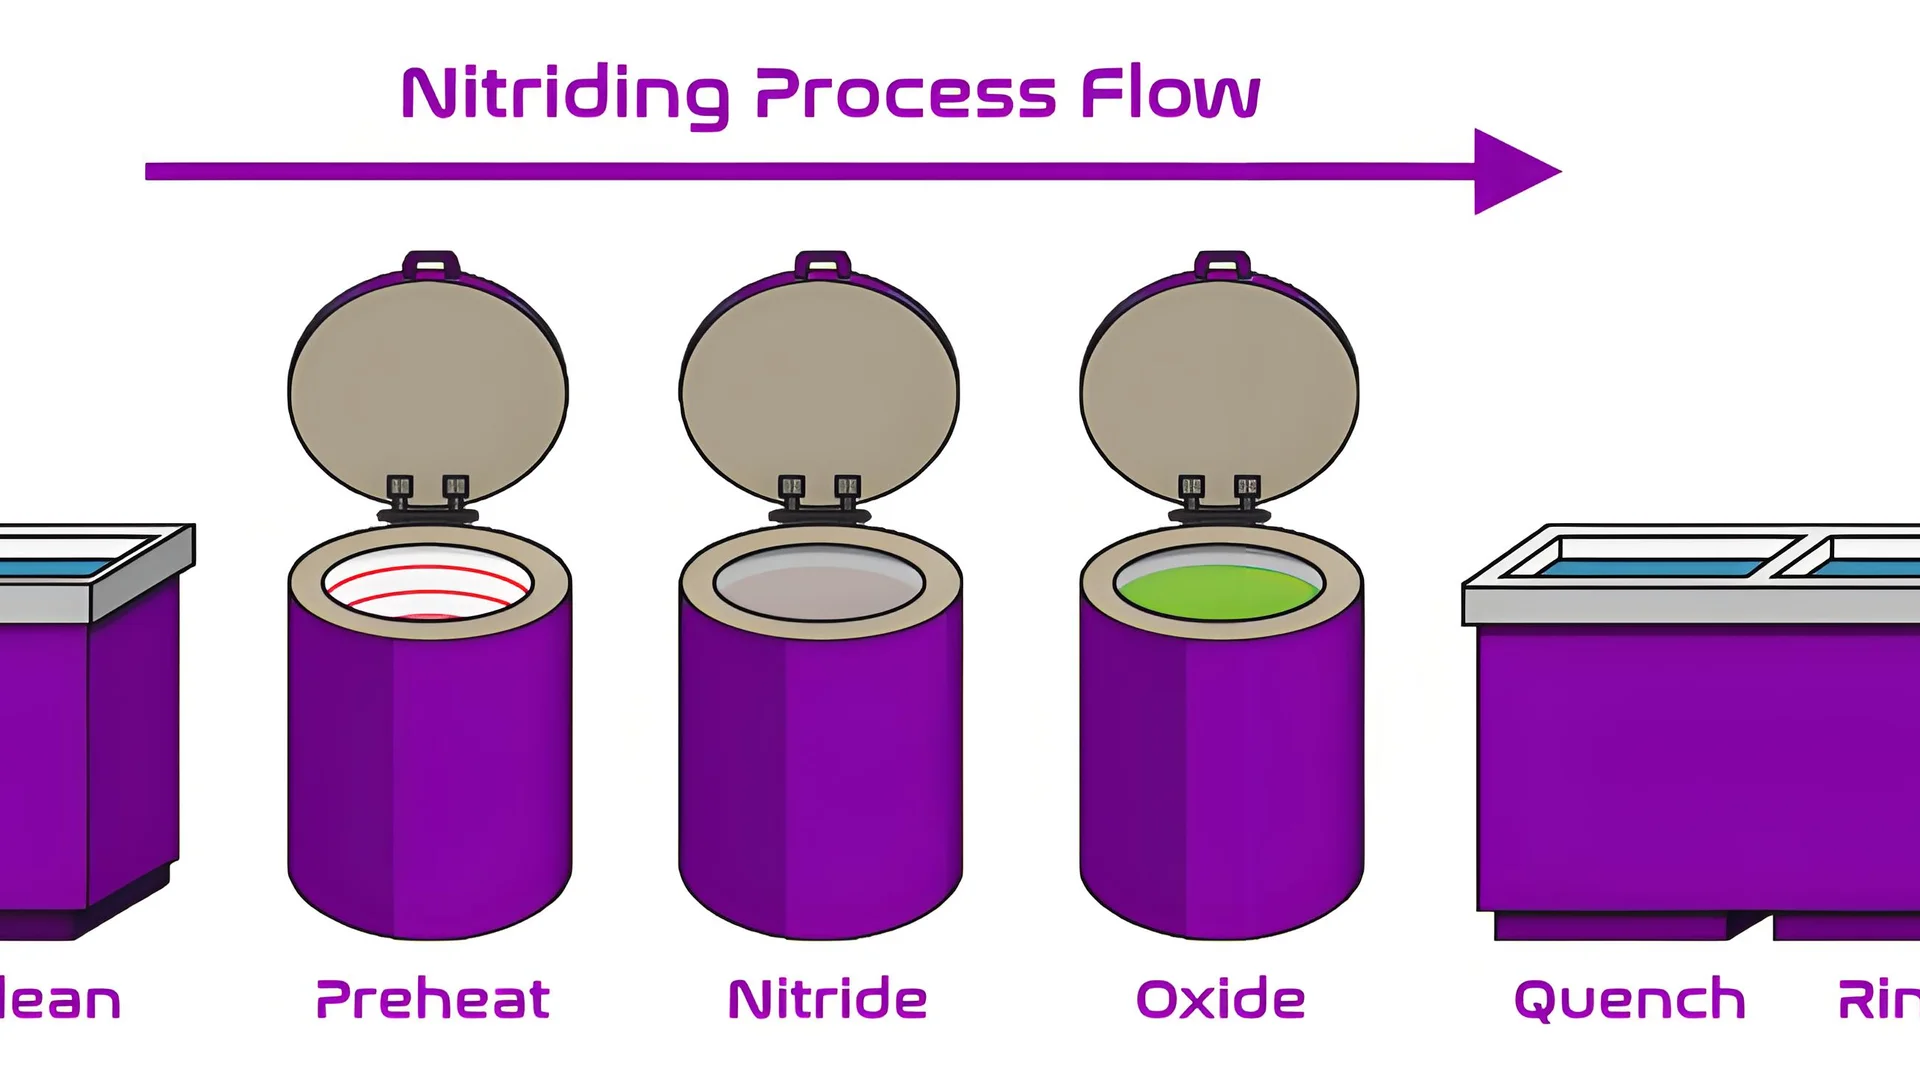
Nitriding treatment has important steps. These steps include mold acceptance, pre-treatment, anti-seepage application, furnace loading, nitriding, cooling and final inspection. Each stage is crucial for mold quality. The process gives molds better hardness. It helps in resisting wear. This increases their durability. And it improves performance.
Mold Acceptance and Preparation
Picture starting something new without past issues. This is how I begin nitriding – by looking over the whole mold carefully. It’s similar to checking your car before a big drive. We check everything. Even a small scratch could weaken the mold. Getting this part right leads to success.
The next step is measuring the mold. Precision is key, much like moving furniture through a small doorway. We measure every crucial part and note them down accurately. Then, we clean the mold using treatments like ultrasonic or alkaline solutions to remove contaminants—this is similar to a spa day for the mold.
For more insights on appearance inspection1, further exploration into individual processes is recommended.
Pre-Treatment Phase
Certain molds need special care before nitriding. Tempering gets the mold ready by heating and cooling it to improve its properties, which is essential for molds that need to perform really well. Stress relief treatment helps in minimizing risks of deformation during nitriding by relaxing any stress in the mold, avoiding unexpected changes during nitriding.
Anti-Seepage Treatment
Think of this like protective cream for the mold. For parts that should not be nitrided, we cover them with an anti-seepage product such as graphite powder. It’s crucial to apply it thoroughly so only the chosen areas receive treatment.
Furnace Loading
Putting molds in the furnace is like building a puzzle; everything needs to fit just right using appropriate fixtures that maintain stability and ensure uniform heating. The arrangement must allow for optimal gas flow, which is critical for consistent nitriding.
Nitriding Treatment Process
We heat the mold as you would preheat an oven before baking, gradually raising the temperature to prevent thermal stress from heat. Holding the heat allows nitrogen atoms to penetrate fully into the mold’s surface, creating a tough finish.
The type and composition of gases introduced—like nitrogen and ammonia—are critical factors influencing depth and quality of the nitrided layer.
Cooling Techniques
Cooling is crucial after nitriding; it’s like letting a cake cool before cutting it. Molds are cooled within the furnace for even results, reducing stress development. Rapid cooling methods might be implemented depending on desired hardness but could increase internal stresses if not managed properly.
Final Inspection
We check the mold thoroughly upon completion of each process step—similar to a jeweler studying a gem—to ensure compliance with specifications through measurements compared against pre-nitriding data.
Hardness testing verifies desired properties have been achieved while optional metallographic analysis might be conducted for detailed evaluation of microstructure.
Each step requires accuracy and attention—it’s like creating something new in your workshop—and exploring more about how each step contributes2 can provide deeper understanding.
Appearance inspection checks mold for cracks and defects.True
Appearance inspection ensures the mold's structural integrity by checking for cracks and defects.
Nitriding temperature is always above 600℃.False
Nitriding temperature typically ranges between 500-580℃, not above 600℃.
Why Is Pre-Treatment Crucial for Nitriding?
I recall my first experience with the nitriding process. It showed me how crucial it is to perfect the pre-treatment.
Pre-treatment is very important before nitriding. It clears impurities from molds. This action stabilizes the mold’s size. Clean surfaces really help nitrogen spread well. This reduces defects. Mold durability probably increases.
Understanding the Role of Pre-Treatment
Small details sometimes lead to big differences. Pre-treatment in nitriding is critical. We start with a visual inspection3 of the mold for damage or defects. I once noticed a small nick that could have caused major problems later. This inspection helps catch issues early.
Preparing the Mold Surface
Next, we clean the mold. My grandmother would say, "You can’t cook in a dirty pot!" This is very true for molds. We remove oil and rust using methods like organic solvents or ultrasonic cleaning4. It gives the mold a fresh start for good nitriding.
Dimensional Stability
After cleaning, we measure key dimensions. It’s like a quick snapshot before a big trip. We check that changes after nitriding are small and acceptable. This is important for precise results in high-performance uses.
Stress Management Through Tempering and De-Stressing
Tempering and de-stressing help manage stress. It’s like relaxing after a tough week to avoid burnout. The mold must be tempered to prevent cracks during nitriding.
Anti-Seepage Measures
We protect areas that should not be nitrided by applying agents like graphite powder—this feels like using sunscreen on sensitive skin, blocking unwanted exposure.
Strategic Furnace Loading
Finally, we carefully load the furnace to ensure even heating—like arranging a suitcase neatly; everything must be in the right place. Every detail matters, leading to successful nitriding and improved mold durability.
Each step might seem small, but they build a strong foundation for nitriding.
Dimensional changes are within allowable range post-nitriding.True
Dimensional measurements before and after nitriding confirm acceptable changes.
Rapid cooling always reduces stress in the mold.False
Rapid cooling can increase stress, contrary to reducing it, depending on conditions.
How does nitriding stack up against other hardening methods?
Selecting the best surface hardening technique resembles choosing the ideal clothes for a big event.
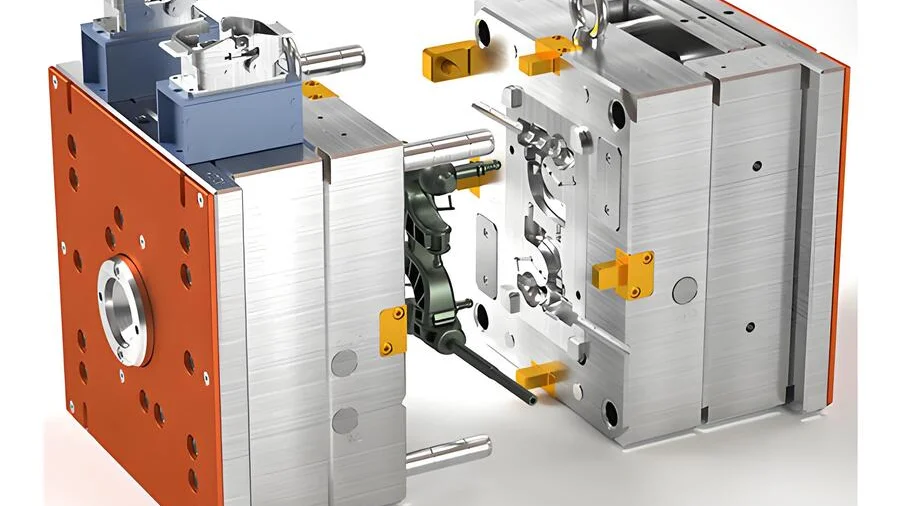
Nitriding greatly increases wear resistance and fatigue strength. It keeps the core properties as they are. Carburizing might change the core. Induction hardening targets specific areas precisely. It suits complex shapes very well.
Nitriding vs. Carburizing
I remember the first time I chose between nitriding and carburizing for a project. It felt like picking between two delicious desserts! Both have something special to offer.
Nitriding adds nitrogen to metal, forming a nitride layer. This layer increases wear resistance and fatigue strength but leaves the core unchanged. This is perfect when you want a hard surface with a soft core, like crème brûlée with a creamy inside.
Conversely, carburizing5 involves diffusing carbon into the steel’s surface. This increases hardness and depth but could change the core unless done carefully. It is great for surfaces under strong loads but not when keeping core strength is key. Think of it as a strong pie full of flavor but needing careful care.
Nitriding vs. Induction Hardening
Induction hardening reminds me of my artist friend who uses a blowtorch. It’s all about accurate control.
Induction hardening uses electromagnetic induction to heat specific areas, followed by quick cooling, usually by quenching. This method excels in treating localized areas, which makes it advantageous for complex geometries or parts requiring selective hardening—like an artist painting highlights, it hardens only where necessary.
While induction hardening6, similar to nitriding, raises surface hardness, it does not change the chemical composition of the surface layer. This limits its wear resistance compared to nitriding.
Cost and Efficiency Considerations
Balancing costs and efficiency is tricky, like planning a family trip.
-
Nitriding often succeeds because it uses lower temperature and shorter cycles. This means less energy consumption and lower thermal distortion; however, setup costs could be high due to special equipment—it’s like picking between a cheap road trip or an expensive holiday.
-
Induction hardening, on the other hand, uses more energy due to fast heating requirements but offers precision and speed in production lines—like a fast-paced city tour with every stop carefully planned.
If you are curious about how these processes fit in the bigger picture, exploring surface treatment comparisons7 provides more details on their use across industries.
Mold appearance inspection checks for cracks and deformation.True
Appearance inspection ensures the mold's structural integrity by checking for defects.
Nitriding temperature is always above 600°C.False
Common nitriding temperatures range from 500-580°C, not exceeding 600°C.
What Are the Common Challenges in Nitriding Treatment?
Have you ever attempted a perfect souffle and seen it fall? Nitriding metal feels similar.
Nitriding treatment faces several common challenges. Achieving even hardness is difficult. Surface contamination is another issue. Managing process variables like temperature and gas flow is key. These tasks are similar to culinary adventures.
Uniform Hardness Achievement
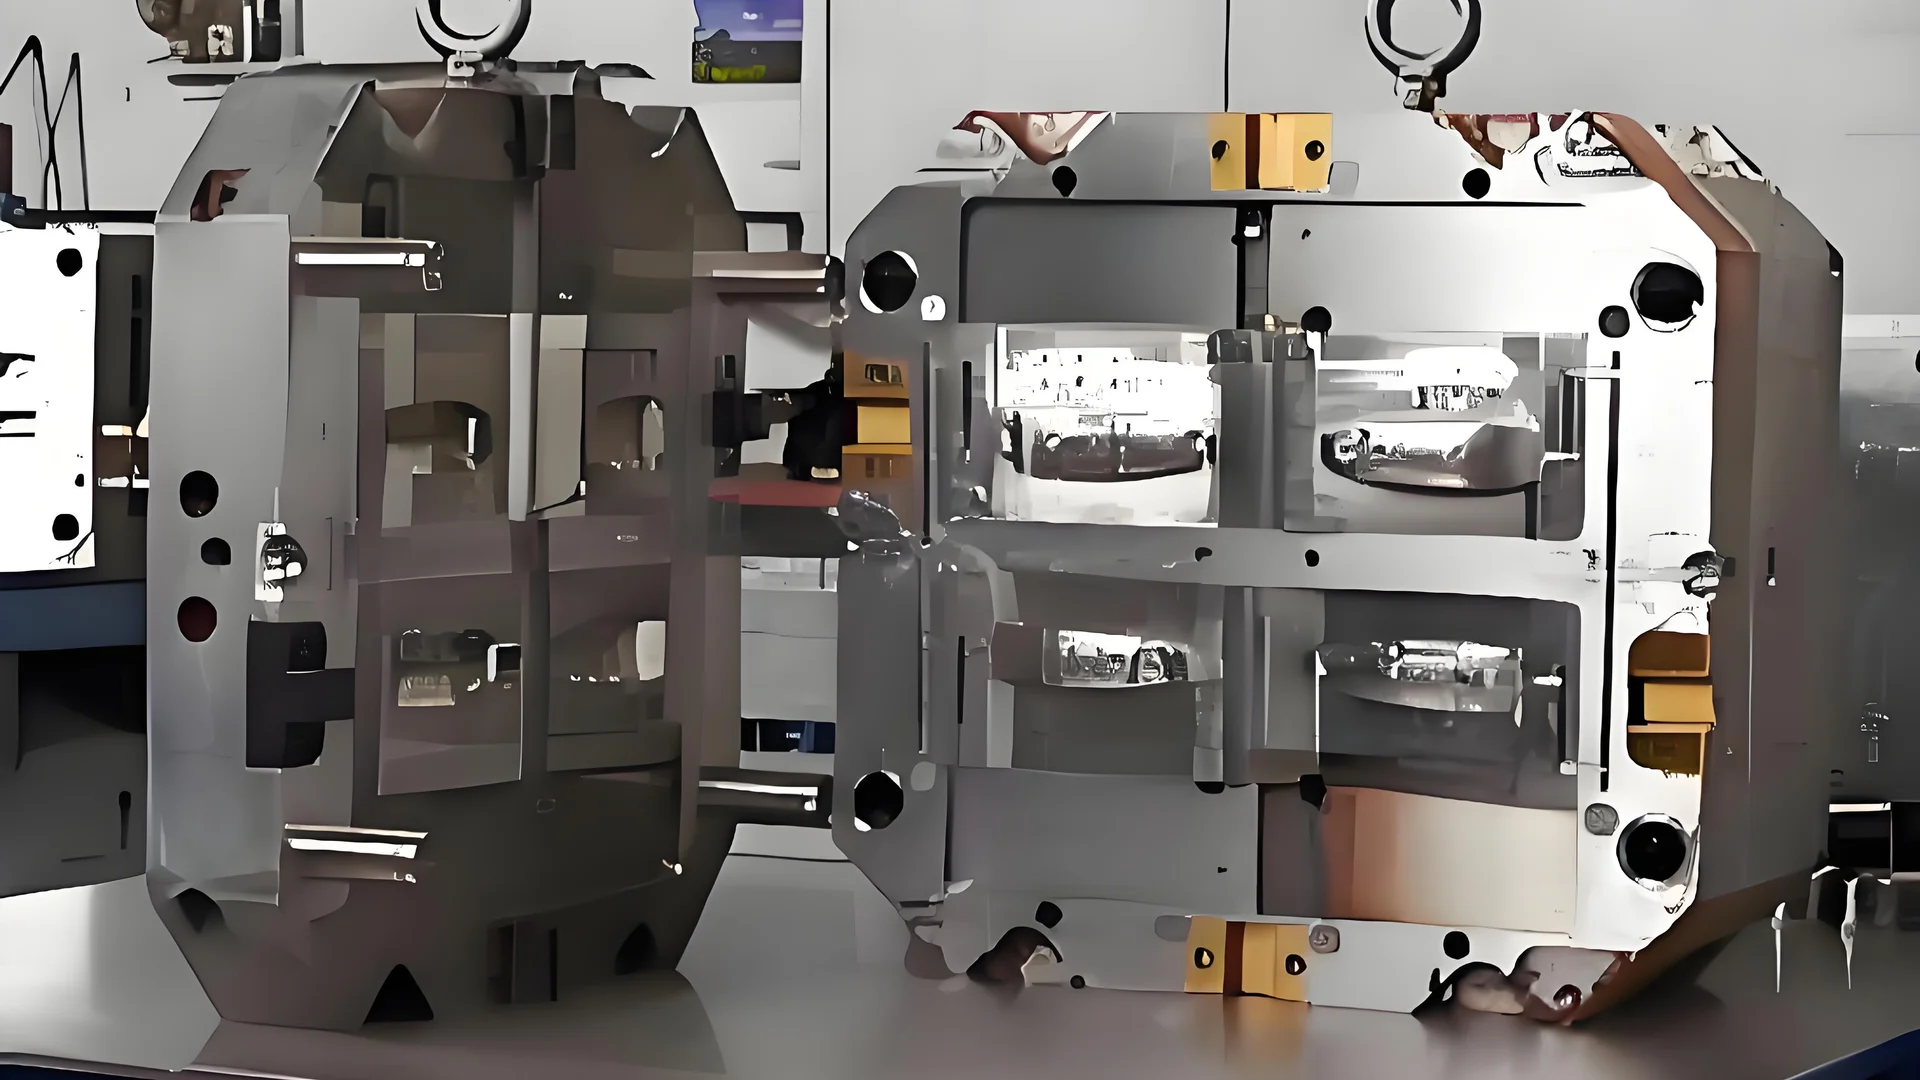
I recall my first try at nitriding and compared it to baking a cake. Metals and gases took the place of flour and eggs. Reaching uniform hardness felt like achieving the perfect soufflé rise. Uniformity is key; it helps keep the treated components strong and performing well. Uneven gas distribution or inconsistent heating often cause variations. I learned that optimizing furnace loading patterns and keeping gas circulation steady is truly beneficial.
Managing Surface Contamination
Imagine this: you clean your kitchen, and then mud comes in. Surface contamination during nitriding feels like that. Before nitriding, cleaning the molds is important to remove oil, rust, or dust. Techniques such as sandblasting8 or ultrasonic cleaning work like cleaning superheroes. They create a contaminant-free surface for a more even nitriding effect.
Process Variable Control
Roasting the perfect Sunday dinner demands control over time and temperature. Nitriding needs precision too. Time, temperature, and gas composition are crucial variables. Deviations may lead to poor results, like an overcooked roast. Maintaining a temperature between 500 – 580°C is vital for successful gas nitriding.
Material Compatibility
Different materials react differently to nitriding—just like some ingredients fit only certain recipes. Some alloys need specific process adjustments. Understanding material characteristics9 is vital for achieving desired hardness and depth without compromising the material’s structure.
Handling Stress and Deformation
Internal stresses during processing can cause cracks or deformation, similar to over-kneading dough. Stress-relief treatments such as annealing or tempering help reduce these issues by lowering internal stresses, minimizing potential distortion during or post-nitriding.
Understanding challenges and applying effective strategies can increase nitriding’s reliability and efficiency—it’s akin to mastering a complex dish; practice and attention make it easier.
Mold must be cleaned before nitriding treatment.True
Cleaning removes impurities like oil and rust, ensuring effective nitriding.
Rapid cooling always reduces mold stress.False
Rapid cooling can increase stress, risking deformation or cracking.
Conclusion
Nitriding treatment enhances mold durability by hardening the surface, reducing wear and friction, and improving fatigue resistance through a precise multi-step process involving heating, gas exposure, and cooling.
-
To understand how mold inspection prevents defects post-nitriding. ↩
-
Explores how each step impacts material performance. ↩
-
Discover how appearance inspection prevents nitriding defects. ↩
-
Learn why ultrasonic cleaning is crucial for mold preparation. ↩
-
Learn how carburizing changes both surface and core properties. ↩
-
Discover why induction hardening suits complex geometries. ↩
-
Explore in-depth comparisons of various surface treatments. ↩
-
Discover how sandblasting improves surface preparation for nitriding. ↩
-
Find out which materials best suit nitriding for optimal results. ↩

