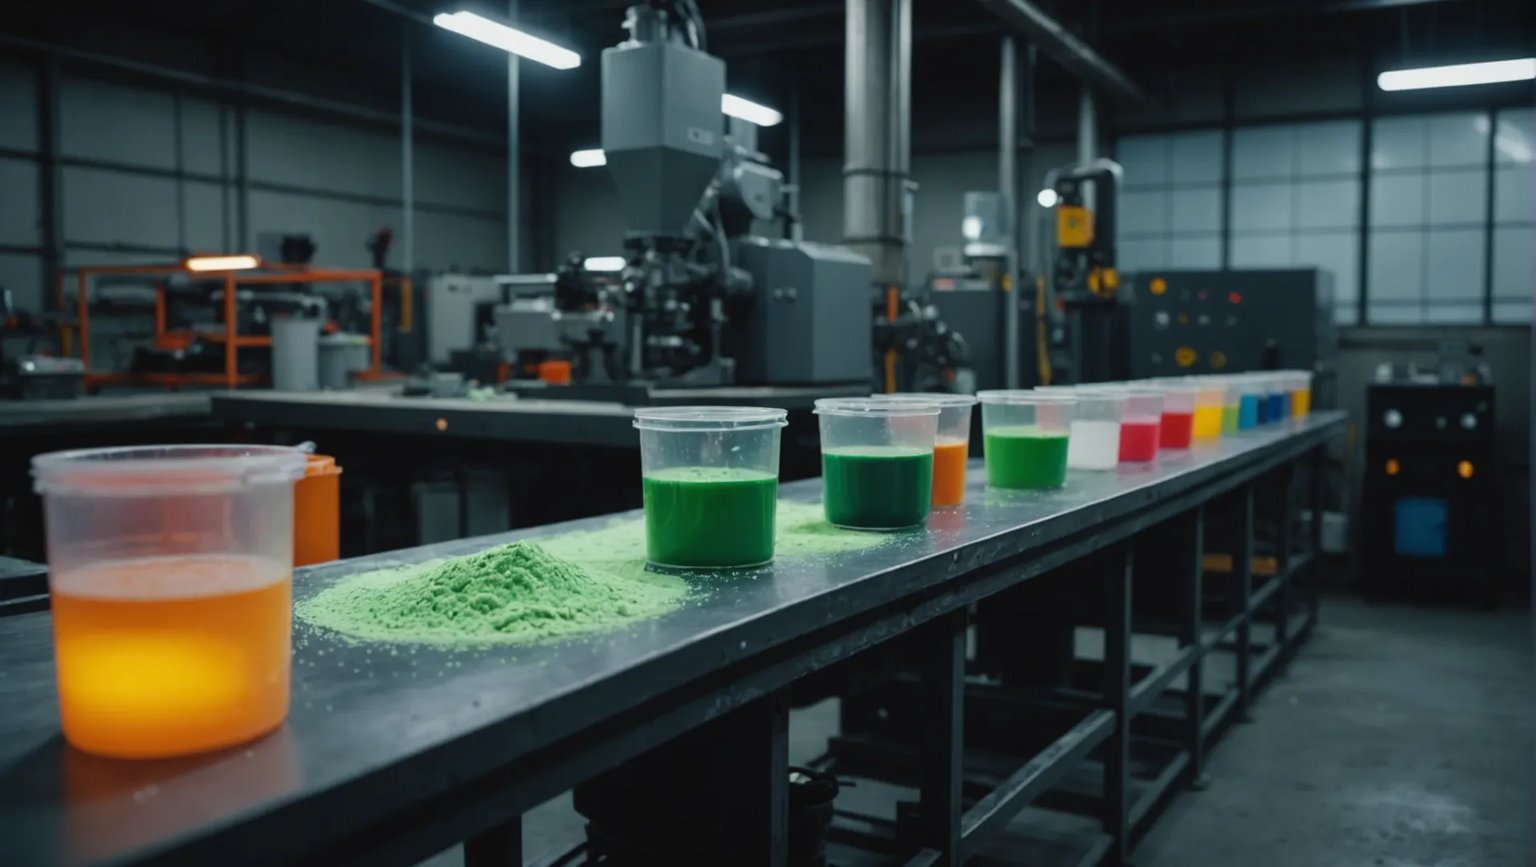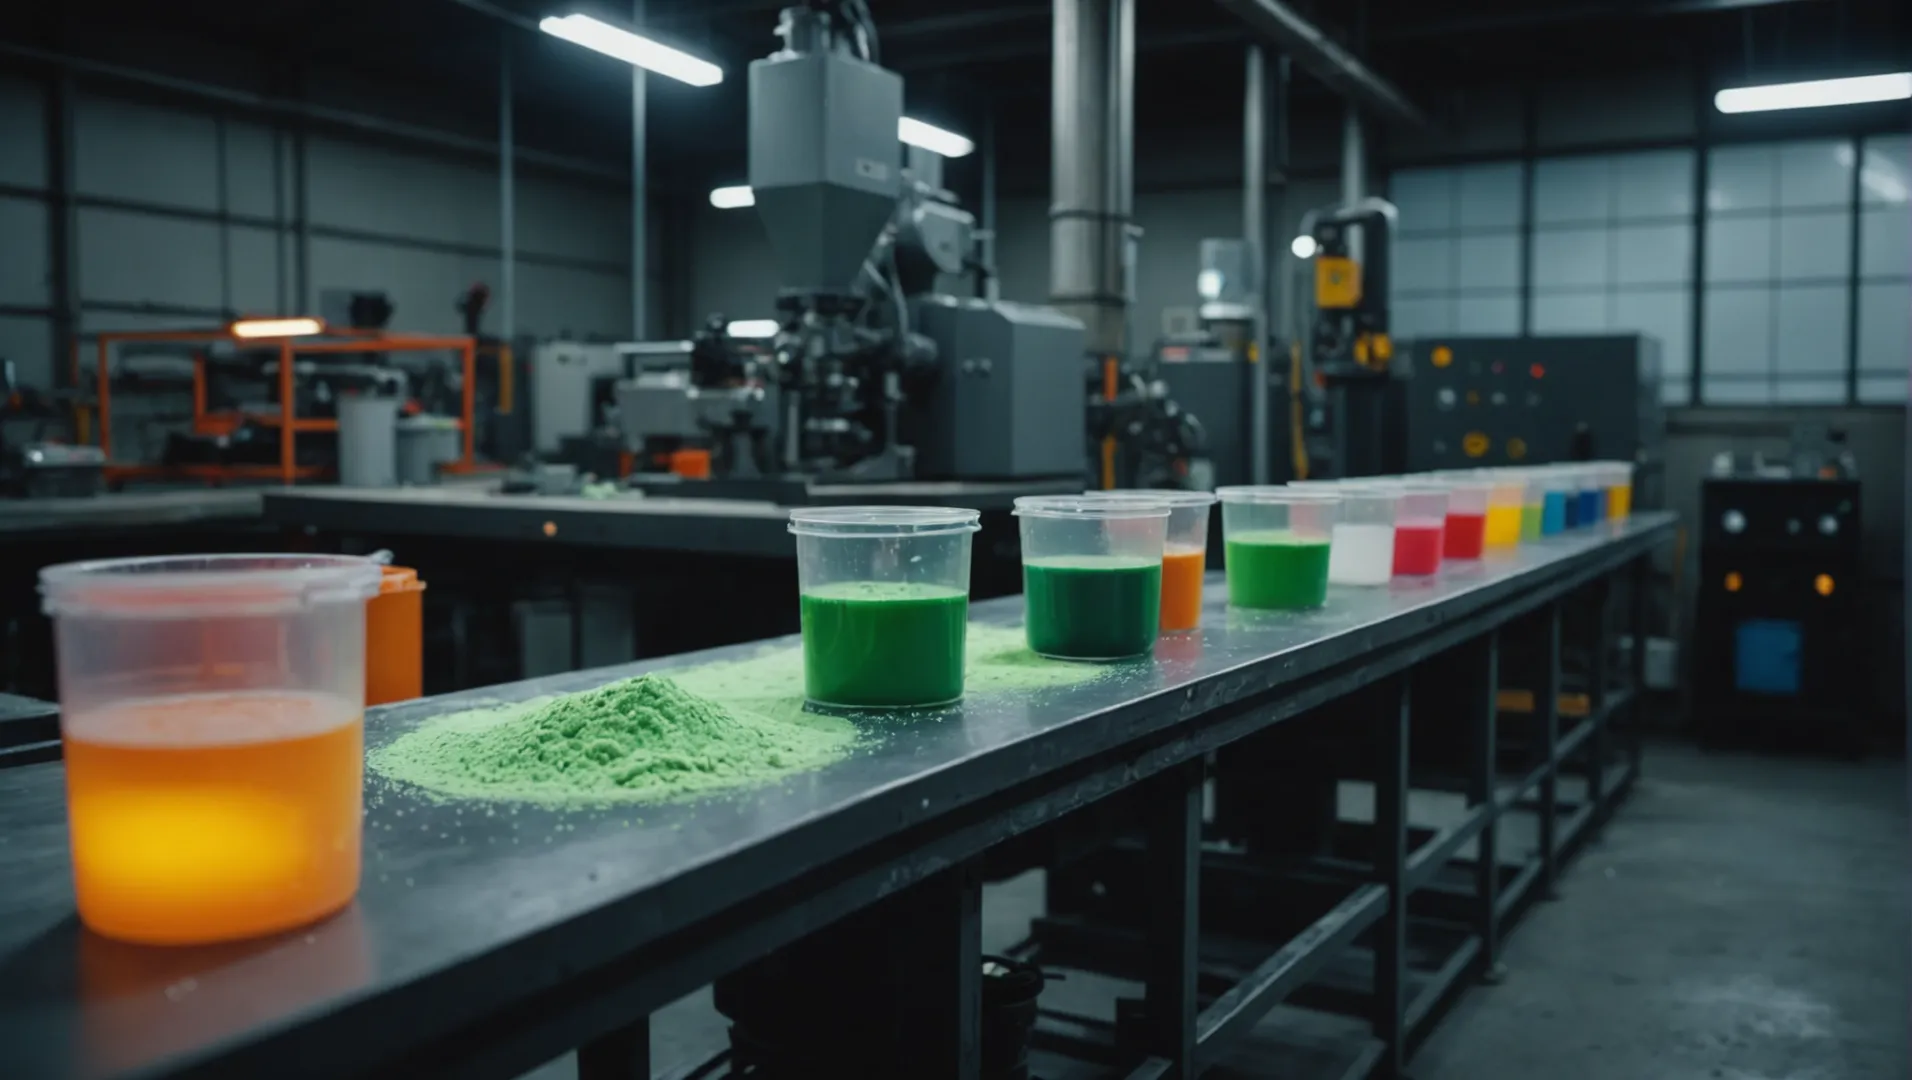
Ready to add a glow to your products? Let’s dive into the magical world of luminous powder in plastic injection molding!
To add luminous powder in plastic injection molding, start by selecting compatible powders and raw materials, premix them for initial dispersion, and adjust molding parameters like temperature and pressure to ensure an even, high-quality luminescent effect.
This blog delves deeper into each step, offering expert insights on material selection, mixing techniques, and process controls to optimize your injection molding outcomes. Continue reading for a detailed guide that could transform your product designs.
Luminous powder must be premixed with plastic materials.True
Premixing ensures even dispersion and prevents clumping during molding.
How Do You Choose the Right Luminous Powder?
Selecting the right luminous powder can make or break your plastic injection molding project. Here’s how to choose wisely.
Choosing the right luminous powder involves considering factors such as brightness, particle size, and compatibility with plastic raw materials. Ensure the powder is weather-resistant and chemically stable for optimal results.
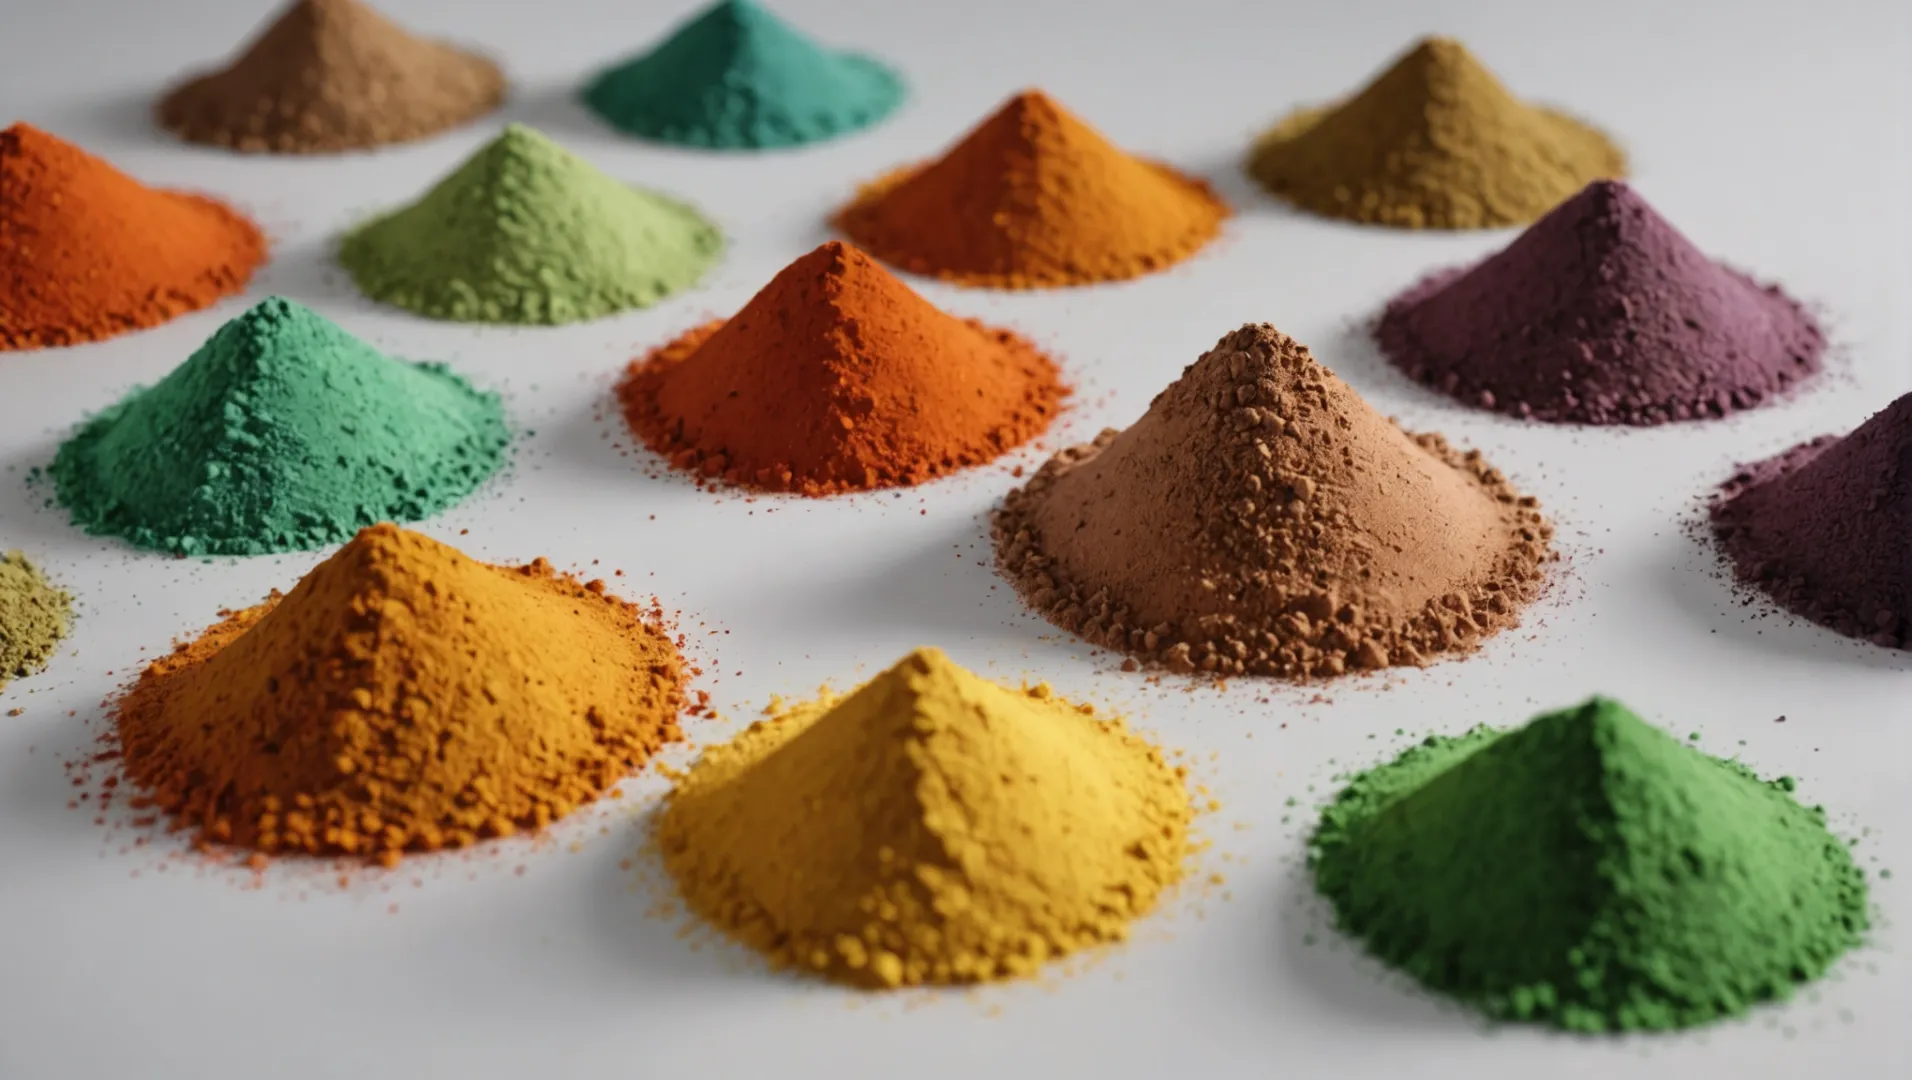
Understanding Luminous Powder Properties
When selecting luminous powder, the two main characteristics to consider are brightness and afterglow time1. High brightness ensures visibility, while long afterglow time maintains the effect for extended periods. Additionally, particle size influences both the surface texture and luminescence of the final product.
| Property | Importance |
|---|---|
| Brightness | Determines visibility |
| Afterglow Time | Affects duration of luminescent effect |
| Particle Size | Influences texture and distribution |
Compatibility with Raw Materials
The effectiveness of luminous powder largely depends on its compatibility with plastic raw materials such as polyethylene (PE), polypropylene (PP), and polystyrene (PS). These materials support the dispersion of luminous particles without compromising structural integrity.
Ensure that your chosen luminous powder exhibits good weather resistance and chemical stability. This not only prolongs the product’s lifespan but also maintains its luminescent quality in various environmental conditions.
Quality Assurance and Supplier Selection
The quality of luminous powder varies across suppliers. Prioritize those who provide consistent quality and support comprehensive testing to verify properties like weather resistance2 and chemical stability. Collaborating with reputable suppliers will help ensure your product’s performance is up to standard.
Practical Application and Testing
Testing different luminous powders in small batches before full-scale production can prevent potential issues. Adjust the particle size according to your desired outcome, as finer particles may lead to smoother textures but require more precise handling to avoid agglomeration.
In conclusion, a meticulous approach to selecting luminous powder—considering brightness, particle size, and compatibility—can significantly impact the quality of your injection molding projects. Utilize these insights to make informed decisions that enhance both the functionality and aesthetics of your final products.
Particle size affects luminescent effect duration.False
Particle size influences texture and distribution, not duration.
Luminous powder must be weather-resistant for longevity.True
Weather resistance ensures prolonged luminescent quality.
What Are the Best Practices for Mixing Luminous Powder?
Mastering the art of mixing luminous powder is crucial for achieving consistent luminescent effects in your products.
The best practices for mixing luminous powder include careful selection of the powder type, premixing with plastic materials to prevent clumping, and using appropriate mixing speeds to maintain powder integrity.

Selecting the Right Luminous Powder
The foundation of successful mixing lies in choosing the right luminous powder3. Opt for powders that offer high brightness and long afterglow time, tailored to your product’s color requirements. Particle size plays a crucial role; larger particles may result in uneven surfaces, while finer particles ensure a smooth finish.
Premixing: The Initial Step
Before full-scale mixing, begin with premixing the luminous powder with a small batch of your plastic material. This step, typically lasting 5-10 minutes, uses a high-speed mixer. The goal here is to distribute the powder evenly to prevent clumping during injection molding.
Main Mixing Techniques
Once premixing is complete, proceed to the main mixing phase. Add the premixed batch into your injection molding machine along with the remaining plastic raw materials. Adjust mixing speed and duration (usually 10-15 minutes) to ensure uniform distribution.
Here’s a simple table to illustrate the mixing process:
| Step | Duration | Equipment Needed |
|---|---|---|
| Premixing | 5-10 mins | High-speed mixer |
| Main Mixing | 10-15 mins | Injection mold hopper |
Considerations for Mixing Speed and Time
Careful control of mixing speed is vital. Excessive speed can lead to heat buildup, potentially degrading the luminous powder’s performance. Conversely, insufficient speed may result in uneven mixing, affecting product quality.
Practical Tips for Effective Mixing
- Use Dispersants: Incorporate dispersants to enhance distribution within the plastic matrix.
- Monitor Moisture Levels: Ensure plastic raw materials are dry; moisture can negatively impact molding quality.
- Experiment with Parameters: Adjust temperature and pressure settings based on trial outcomes to achieve optimal results.
By following these best practices4, you can enhance the luminescence and durability of your final products.
Premixing prevents clumping in injection molding.True
Premixing distributes luminous powder evenly, preventing clumping.
Excessive mixing speed enhances powder performance.False
High speeds cause heat buildup, degrading powder performance.
How Can You Adjust Injection Molding Parameters Effectively?
Fine-tuning injection molding parameters is pivotal for achieving optimal product quality and performance, especially when integrating additives like luminous powder.
Adjusting injection molding parameters involves carefully controlling temperature, pressure, and speed to ensure even distribution of additives like luminous powder, preventing defects and enhancing quality.

Temperature Control: Finding the Balance
Temperature is a critical factor when working with injection molding, especially when introducing additives such as luminous powder. Begin by adjusting the temperature settings of your injection molding machine to ensure the plastic raw material melts thoroughly while maintaining compatibility with the luminous powder. It’s essential to avoid excessive temperatures that could degrade the powder’s performance.
Typically, experimenting to find the best injection temperature range is advisable. For instance, if using polyethylene5, start with a mid-range temperature and gradually adjust based on the luminescent outcome and material behavior.
Pressure Control: Ensuring Uniformity
Pressure adjustments are necessary to facilitate smooth filling of the mold and uniform distribution of luminous powder. Too much pressure might lead to agglomeration or defects, while insufficient pressure can compromise molding quality.
Use the following table as a reference for adjusting pressure:
| Material | Recommended Pressure Range (MPa) |
|---|---|
| Polyethylene | 50-80 |
| Polypropylene | 60-90 |
| Polystyrene | 70-100 |
Refer to this table as a guideline and fine-tune based on specific material combinations and desired outcomes.
Speed Control: Balancing Speed and Quality
Injection speed and holding time must be meticulously controlled. Fast speeds can lead to uneven distribution of the luminous powder, while inadequate holding time might cause shrinkage or other defects.
An optimal approach is to begin with moderate speeds, gradually increasing while monitoring product quality. Slow down during critical phases where even distribution is crucial. Implement a holding time that compensates for any potential shrinkage or deformation, particularly in thicker parts.
Practical Insights from Industry Experts
Industry experts suggest that a systematic approach in adjusting these parameters—beginning with temperature, followed by pressure, and lastly speed—yields better results. As you iterate through various settings, record outcomes meticulously to establish a refined process tailored to your specific materials and product designs.
For further guidance, explore articles on injection molding optimization techniques6 for deeper insights into industry practices.
Excessive temperature degrades luminous powder.True
High temperatures can break down the powder, reducing its effectiveness.
Fast injection speeds ensure even additive distribution.False
Fast speeds can lead to uneven distribution of additives.
What Safety Measures Should Be Considered During the Process?
Ensuring safety during the injection molding process with luminous powder is crucial for both product quality and worker protection.
Key safety measures include wearing protective gear, maintaining good ventilation, and ensuring proper storage of materials to prevent hazards.
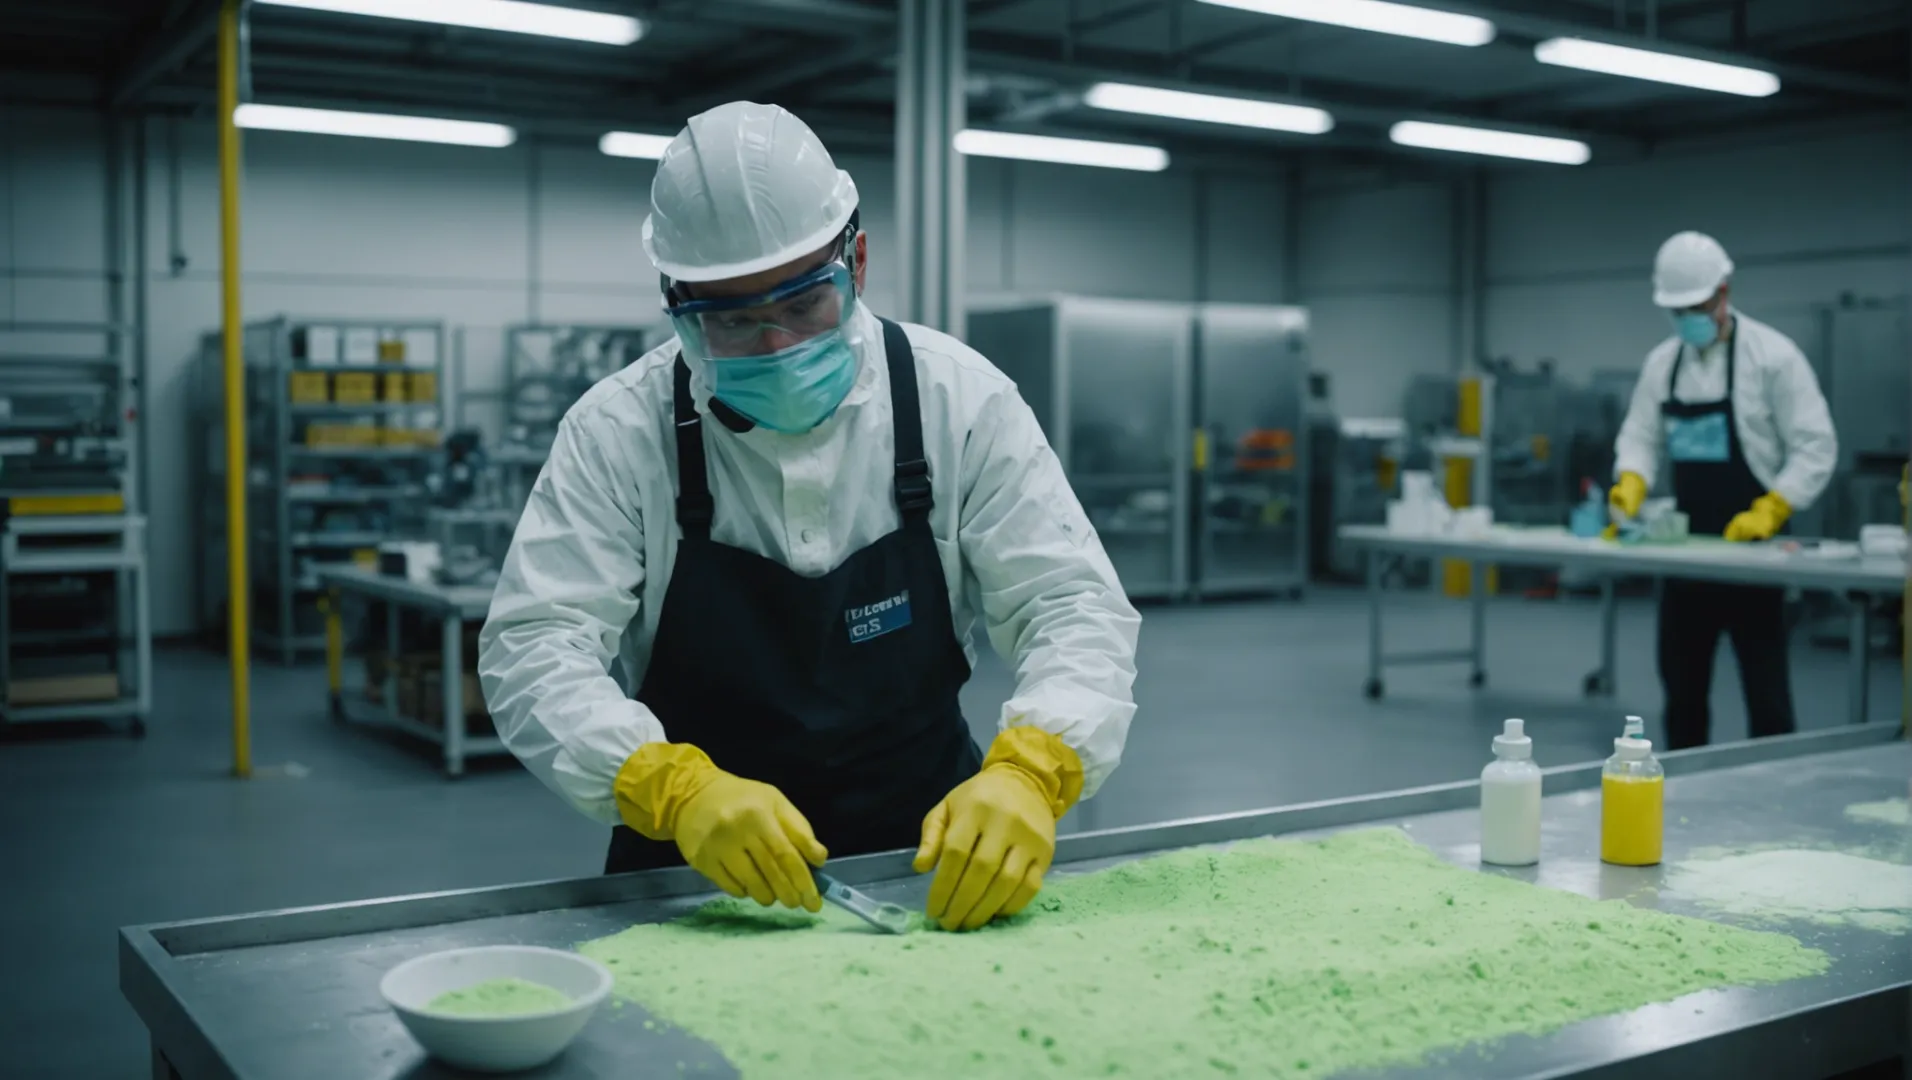
Protective Gear and Equipment
When working with luminous powder, it is imperative to wear appropriate protective equipment. Dust from the luminous powder can be harmful if inhaled or if it comes into contact with skin. Therefore, operators should wear masks and gloves at all times during handling. This not only protects personal health but also ensures compliance with workplace safety regulations.
Ventilation and Workspace Setup
A well-ventilated workspace is essential when dealing with luminous powders. Ventilation systems should be in place to minimize dust accumulation in the air, reducing the risk of respiratory issues for workers. Regular maintenance of these systems can enhance their efficiency and prolong their operational life. Furthermore, organizing the workspace to limit exposure to dust can help maintain a clean and safe environment.
Storage and Handling of Luminous Powders
Proper storage is vital to prevent accidents. Luminous powders should be kept in a dry, well-ventilated area away from fire hazards and flammable materials. Utilizing airtight containers can prevent moisture absorption, which could degrade the powder’s effectiveness. Establishing clear labeling practices will also help in quickly identifying the contents and handling instructions, reducing the likelihood of mishaps.
| Safety Measure | Description |
|---|---|
| Protective Gear | Wear masks and gloves to prevent inhalation and skin contact. |
| Ventilation | Ensure workspace has adequate ventilation to minimize dust exposure. |
| Proper Storage | Store powders in airtight containers away from fire hazards. |
Monitoring and Quality Control
Regular monitoring of the luminous powder’s performance and the overall quality of the injection-molded products is crucial. Implementing a quality control system that checks for brightness, afterglow time, and color uniformity can help detect any issues early on. Adjustments can then be made to the process or materials used, ensuring consistent product quality.
Routine Cleaning and Maintenance
Maintaining cleanliness of the injection molding machine is as critical as ensuring safety during the process. After each production cycle, thoroughly clean the equipment to remove any residues of luminous powder that might affect subsequent batches. Regular maintenance checks are advised to ensure all machinery functions optimally, reducing downtime and preventing accidents.
By implementing these safety measures7, not only do you safeguard worker health, but you also improve the overall quality of your injection molding process.
Masks and gloves prevent inhalation and skin contact.True
Protective gear is essential to avoid inhalation and skin exposure.
Luminous powders should be stored near fire hazards.False
Storing luminous powders near fire hazards is unsafe and not recommended.
Conclusion
Mastering the integration of luminous powder in injection molding unlocks new possibilities for innovative designs. By following these steps, you ensure quality and consistency.
-
Learn about key factors affecting luminous powder performance.: This means that the luminous powder can continue to emit light for 10,000 minutes (more than 166 hours) after the excitation light source stops … ↩
-
Discover methods to ensure your powders are durable and stable.: Two methods are commonly used internationally: natural exposure and artificial accelerated aging tests, and emphasize that the two test methods must be … ↩
-
Discover how different powders affect product luminescence.: It is better to use coarse powder for brightness above 8% and fine powder for low concentration ratio. 2. Ink: recommended 40-60%, commonly used … ↩
-
Gain insights into effective techniques for luminous powder mixing.: I think if you try to mix it with white paint it wuld appear chalky as it won’t dissolve property. You can mix it with some gum Arabic and water … ↩
-
Learn optimal temperature settings for polyethylene in injection molding.: With plastic injection molding, HDPE has a melt temperature between 200°C and 300°C and a mold temperature between 10°C and 80°C. A higher mold … ↩
-
Discover expert strategies to enhance injection molding processes.: 1. Temperature Control: · 2. Injection Speed: · 3. Cooling Time: · 4. Plastic Material Selection: · 5. Screw Speed and Back Pressure: · 6. Injection … ↩
-
Discover comprehensive safety guidelines for handling luminous materials.: Safety measures include wearing protective gear such as gloves, masks, and goggles, storing pigments in a cool, dry place away from direct sunlight, and … ↩

