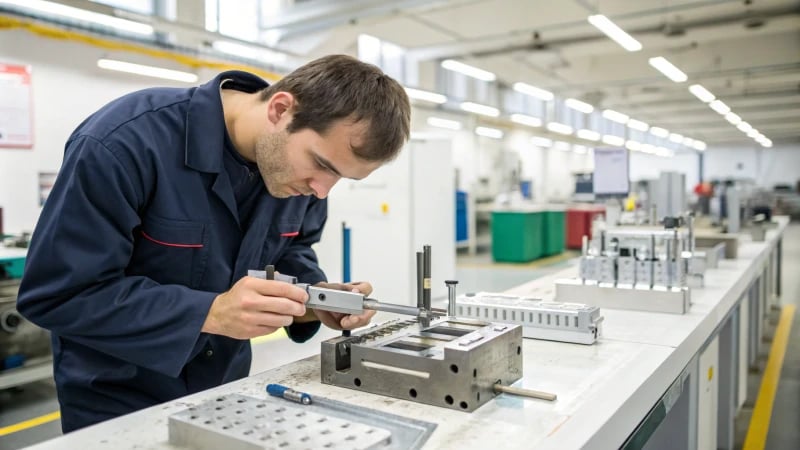
Picture yourself at the boundary of a huge factory. This is the center of new ideas. Precision is very important here.
Ensure injection mold accuracy by using techniques such as visual inspection, dimension measurement, surface roughness detection, and mold closing accuracy checks to ensure they meet design specifications perfectly.
I have spent years in the mold industry. Each testing method provides unique insights into mold performance. Surface roughness detection becomes an art form. It resembles feeling a painting’s texture to verify it feels just right. Linear dimension measurement feels like those careful school days, using a ruler to perfect sketches. Assembly accuracy checks form a vital step. It is like ensuring all puzzle pieces fit perfectly. Let’s explore these processes in more detail. This way, you can approach your next project with precision and skill.
Injection mold accuracy is verified through appearance inspection.True
Appearance inspection checks for surface defects, ensuring design adherence.
Surface roughness detection is irrelevant for mold accuracy.False
Surface roughness impacts the final product's quality and mold performance.
What are the key techniques for appearance inspection?
Have you ever thought about how your designs could look good on paper and meet real-world standards?
To inspect appearance well, focus on techniques like detecting surface roughness. Check mold surface integrity and inspect parting surfaces. Use tools such as roughness meters for precise measurements. Visual comparisons help identify issues. Non-destructive testing methods add accuracy. These tools and methods really improve efficiency.
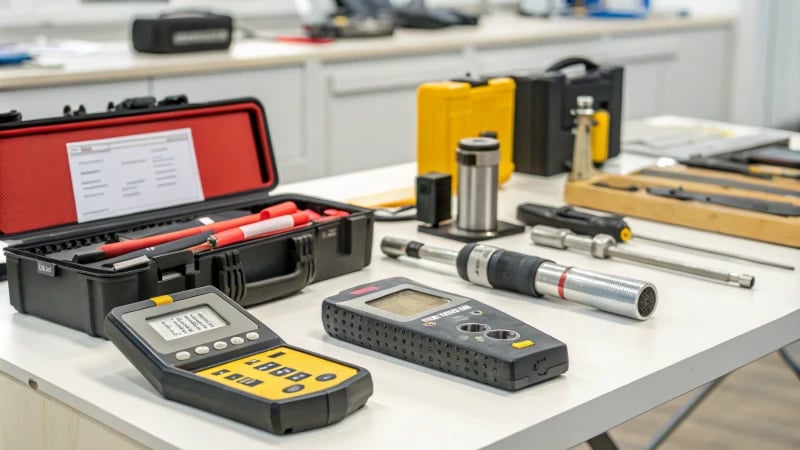
Surface Roughness Detection
Surface roughness detection interests me like a search for hidden perfection. A roughness meter1 measures the tiny texture of a surface, ensuring it matches design plans. Imagine comparing a beautiful drawing of hills with the real feel of those smooth hills. I often use quick visual checks against standard samples.
| Method | Description |
|---|---|
| Roughness Meter | Measures the tiny texture of a surface to ensure it matches design plans. |
| Visual Comparison | Compares surface against standard samples for quick assessment. |
Mold Surface Integrity Inspection
Cracks and pores resemble tiny enemies on a mold surface. Non-destructive testing methods, like magnetic particle testing2, help me find these hidden flaws. It acts like a detective’s magnifying glass, making problems in ferromagnetic materials visible.
Parting Surface Inspection
Precision transforms into an art form here. Measuring the flatness of parting surfaces remains vital for mold closing accuracy. A knife edge ruler and feeler gauge detect any gaps, resembling a delicate game of spotting the gaps. Nothing should slip through unnoticed; otherwise, burrs or misalignments may occur.
| Tool | Purpose |
|---|---|
| Knife Edge Ruler | Used to check flatness and detect gaps between parting surfaces. |
| Feeler Gauge | Measures gap sizes to confirm they are within acceptable limits for very high precision. |
Roughness meters measure surface roughness accurately.True
Roughness meters provide precise measurements of surface micro-roughness.
Penetrant testing is ideal for ferromagnetic materials.False
Magnetic particle testing is suitable for ferromagnetic materials, not penetrant testing.
How Do You Measure Dimension Accuracy Effectively?
Have you ever had a time when everything just works because you understood the details? In engineering, this amazing feeling usually happens with accurate measurements.
Use precise tools like calipers and micrometers to measure dimensions accurately. Understand geometric tolerances. Try advanced methods like Coordinate Measuring Machines (CMM) for very high precision. Regular checks confirm that designs meet specifications.
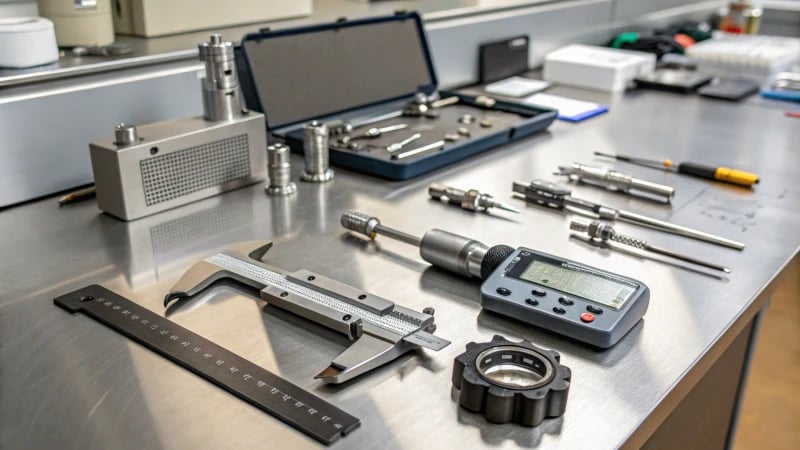
Appearance Inspection
Imagine carefully creating a piece of art and noticing a small flaw. Appearance inspection in mold making is about finding those tiny faults before they become bigger problems. I remember using a roughness meter for the first time. It was both scary and amazing. This tool measures surface roughness for precision molds, ensuring parts like cavities and cores meet standards, usually within Ra0.2-Ra0.8μm. Moving the probe on the surface, I felt the power of exactness in my hands.
For a quick but less exact check, sometimes I use the comparison method by holding a part against a standard roughness sample—like using a toothpick in baking to see if the cake is ready! Non-destructive methods such as magnetic particle testing and penetrant testing help find defects like cracks or sand holes.
Table: Surface Inspection Methods
| Method | Application |
|---|---|
| Roughness Meter | Measures surface micro-roughness accurately |
| Magnetic Particle Testing | Detects defects in ferromagnetic materials |
| Penetrant Testing | Suitable for all materials |
Linear Dimension Measurement
I use calipers and micrometers to measure basic dimensions like length, width, and depth. They are crucial tools in my set. When high stakes demand great precision, I turn to a three-coordinate measuring machine (CMM). This machine acts like expert eyes, checking every detail.
The CMM excels in precision for complex designs, especially for injection mold cores. It measures various points with micron-level accuracy—think of it as having superpower precision that ensures all parts fit together perfectly.
Geometric Tolerance Detection
Geometric tolerance detection involves making sure all parts fit smoothly, like a perfect dance. I use roundness meters and flatness instruments to maintain features like cylindricity and flatness within limits.
Working on crucial components like a guide pin’s cylindricity for mold accuracy makes these tools indispensable allies. Understanding geometric tolerances keeps assemblies strong and functional.
Assembly Accuracy Detection
Perfect assembly in mold making flows like perfect music rhythm. I check mold closing gaps with feeler or gap gauges; high-precision molds require gaps to be less than 0.03-0.05mm.
Manually moving guide pins and sleeves ensures smooth movement without jamming—like a well-oiled machine3 running smoothly. Assembly precision is key to mold efficiency; it is crucial.
I never skip checking the ejector mechanism accuracy; smooth operation without skewing prevents product deformation during ejection.
In short, measuring dimension accuracy means more than just tools or techniques—it’s about consistency and dedication to the highest standards in every design.
A roughness meter measures surface roughness accurately.True
Roughness meters are designed to provide precise surface roughness measurements.
CMMs are unnecessary for high-precision mold measurements.False
CMMs offer micron-level accuracy, essential for intricate mold designs.
Why is Assembly Accuracy So Vital for Mold Performance?
Do you ever think about why tiny details are very important when putting molds together?
Assembly accuracy is vital for mold performance. It guarantees the precise alignment of parts. Accurate assembly reduces defects, such as leaks and warping. Every component fits perfectly. This precision keeps the product quality high. It also sustains functionality during production.

Importance of Precision Assembly
Imagine being in a workshop full of machine sounds and the smell of fresh metal. I remember when I first realized how important precision is in creating molds. It happened during a night shift. A small mistake caused a whole batch to fail. Tiny errors lead to leaks, warping, and uneven quality.
Consider the impact of precise alignment on guide pins and sleeves: these components require meticulous assembly to prevent jamming or wear due to improper fit. This alignment also ensures that the mold closes correctly, maintaining high standards of precision.
Techniques for Ensuring Assembly Accuracy
Mold Closing Accuracy Detection
Picture using feeler gauges like magic wands. These tools measure mold closing gaps, keeping them between 0.03-0.05mm, much like piecing together a puzzle. Each part needs careful checking during manual work to confirm no misalignment exists.
Importance of Ejector Mechanism
Imagine ejector pins as hidden heroes in mold assembly. They must slide smoothly and not jam. Manual checks confirm the correct extension length of ejector pins, ensuring synchronization across all pins to avoid product deformation.
Inspection and Detection
True detective work starts here. Thorough inspection is vital:
- Appearance Inspection: Surface should always be perfect. Techniques like magnetic particle testing are used to find hidden cracks or sand holes.
- Dimension Accuracy Detection: With calipers and micrometers, every size is checked carefully. Advanced devices like CMMs measure with high precision.
| Inspection Type | Method | Precision Requirement |
|---|---|---|
| Surface Roughness | Roughness meter | Ra0.2-Ra0.8μm for cavities |
| Mold Closing Gaps | Feeler gauge | < 0.03-0.05mm |
| Linear Dimensions | Calipers, micrometers, CMM | Micron-level precision |
| Ejector Pin Extension | Manual operation | Consistent with design requirements |
These steps show how crucial assembly accuracy is in ensuring molds work flawlessly and maintain quality through production cycles. Manufacturers probably improve mold reliability and performance by using these methods, leading to better products and happier customers.
Explore geometric tolerance detection4 for better mold strategies.
Misalignment in molds causes leaks and warping.True
Misalignment affects mold performance by causing defects like leaks and warping.
Ejector pins can be misaligned without affecting molds.False
Misaligned ejector pins can cause product deformation, affecting mold quality.
What Tools Are Essential for Accurate Mold Testing?
It’s hard to imagine the powerful change accurate mold testing brings to your work!
Precise mold testing requires essential tools. Roughness meters, calipers and micrometers measure details accurately. Non-destructive testing devices, like magnetic particle testers and penetrant testing equipment, help inspect without damage. Each tool has a very important job. They really ensure the mold matches design specifications.
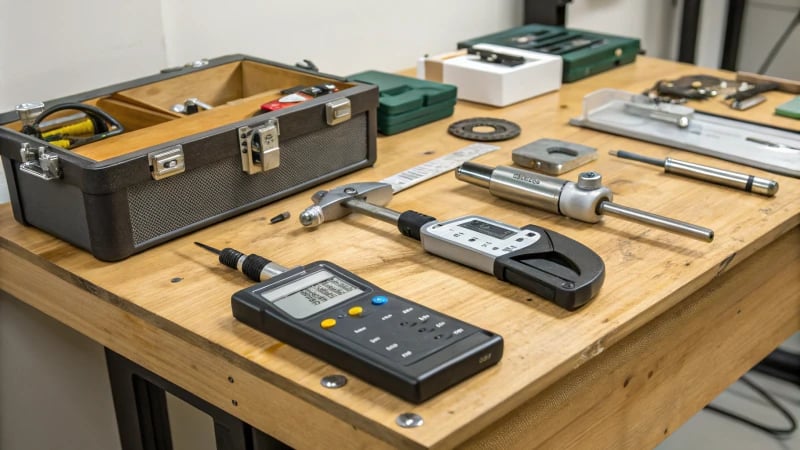
Appearance Check
Surface Smoothness Check
I remember the first time I tried to check surface smoothness without proper tools. It was not easy. Now, I always use a roughness meter. It glides over the mold surface and provides exact measurements. These measurements tell if I meet the crucial Ra0.2-Ra0.8μm standards. This tool is like a tiny detective by my side, ensuring every detail becomes perfect.
| Tool | Purpose |
|---|---|
| Roughness Meter | Measures arithmetic mean deviation of surface roughness |
| Standard Roughness Sample | Used for visual comparison |
For precise inspection, magnetic particle testing5 and penetrant testing6 are valuable methods to uncover hidden cracks and pores.
Separation Surface Check
I learned the importance of keeping flat parting surfaces. A knife edge ruler and feeler gauge are always near, checking for flatness errors within 0.01-0.03mm is now a habit for me.
Dimension Precision Check
Straight Measurement
Calipers, micrometers, and CMMs help me get precise linear measurements. It’s amazing how they can change raw data into a solid plan that sets the path to success.
| Tool | Purpose |
|---|---|
| Calipers & Micrometers | Measure basic linear dimensions |
| CMM | Precise coordinate measurements |
Learning about CMM benefits7 opened new doors for my projects, greatly improving accuracy.
Shape Tolerance Check
I value roundness meters as they help ensure every guide pin fits perfectly—what used to be a guessing game is now precise.
Assembly Precision Check
Mold Closing Precision
Feeler gauges and gap gauges help maintain mold closing gaps below 0.03-0.05mm, ensuring high precision.
Ejector Mechanism Precision
Smooth movement is crucial for ejector pins to prevent unwanted issues like product deformation. Double-check pressure and speed settings with hydraulic systems; they must match design limits.
Learn more about ejector mechanism functions8 to improve workflow and align with industry standards.
Roughness meters measure surface roughness accurately.True
Roughness meters measure the arithmetic mean deviation of surface roughness.
Feeler gauges ensure mold closing gaps are below 0.1mm.False
Feeler gauges ensure mold closing gaps remain below 0.03-0.05mm.
Conclusion
This article explores techniques for testing injection mold accuracy, including appearance inspection, dimension measurement, and assembly checks to ensure molds meet design specifications and maintain high-quality production.
-
Learn about roughness meters and their role in achieving accurate surface measurements. ↩
-
Discover how magnetic particle testing detects surface defects in ferromagnetic materials. ↩
-
Explore why maintaining precise assembly is critical for ensuring mold efficiency and preventing defects. ↩
-
Explore how detecting geometric tolerances enhances mold accuracy and functionality. ↩
-
Exploring this link helps understand the process of magnetic particle testing, enhancing defect detection in molds. ↩
-
Discover why penetrant testing is vital for identifying surface defects across various materials. ↩
-
Learn how CMM technology enhances dimensional accuracy in complex mold designs. ↩
-
Gain insights into how accurate ejector mechanisms prevent product defects. ↩

