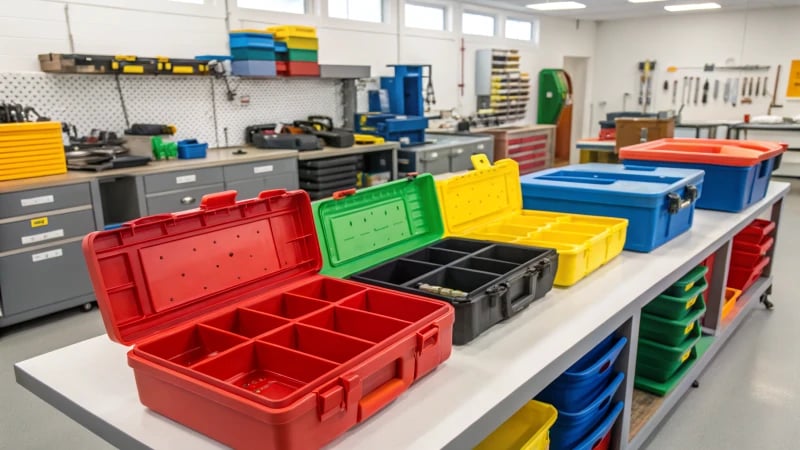
Have you ever stared at a dull plastic part and wondered how to give it a shiny, metal finish?
Start by cleaning and roughening the injection molded part’s surface, then sensitize and activate it. Electroplate with precise parameter control, followed by optional chemical plating, and conclude with thorough post-treatment, including cleaning and drying.
When I first started learning about plating, I was amazed at how each step held its own set of challenges and rewards. Cleaning, for instance, isn’t just about wiping the surface; it’s about ensuring every bit of oil and mold release is gone. This is where my trusty ethanol comes into play. It’s like giving the part a fresh start.
Moving on to surface roughening, I recall the time I spent sanding away, getting every nook and cranny just right. It’s not just manual labor but an art form in itself. And then there’s the alchemy of sensitization and activation, which feels like prepping the part for its grand debut.
Each stage in plating is a chapter in a story of transformation. Through precise parameter control during electroplating, like maintaining just the right temperature and current density, we ensure the part doesn’t just look good but performs well too. And then, there’s the moment of truth—post-treatment. The cleaning, drying, and inspecting, all culminating in that perfect metallic shine.
Cleaning is the first step in plating injection molded parts.True
Cleaning removes contaminants, ensuring effective adhesion during plating.
Electroplating does not require parameter control.False
Precise parameter control is crucial for achieving uniform electroplating.
- 1. How Do You Prepare the Surface of Injection Molded Parts for Plating?
- 2. Why is Chemical Plating Important in Manufacturing?
- 3. How do I choose the right electroplating solution for injection molded parts?
- 4. Why is post-treatment essential after electroplating?
- 5. What Are the Common Challenges and Solutions in Plating Injection Molded Parts?
- 6. Conclusion
How Do You Prepare the Surface of Injection Molded Parts for Plating?
Ever tried getting a perfect finish on an injection molded part, only to feel like you’re missing the secret sauce?
Prepare injection molded parts for plating by cleaning with solvents, roughening the surface through mechanical or chemical methods, and applying sensitization and activation treatments to create a reactive and adherent surface for plating.
Cleaning the Surface
I remember the first time I had to prepare an injection molded part for plating—it felt like prepping for a major art project. The key, I learned, is starting with a squeaky clean surface. I’d often use ethanol or acetone, letting the parts soak for about 10-15 minutes. It was almost like giving them a spa day before their big debut. A gentle wipe with a soft cloth would follow, ensuring no residue was left behind, creating a spotless base1.
Surface Roughening
Next came the roughening stage. It’s like giving your parts a bit of grit to hold onto that shiny coat. Whether using sandpaper or diving into chemical solutions like chromic acid for ABS plastics, each method has its charm.
| Method | Material | Example |
|---|---|---|
| Mechanical | Sandpaper | 200-400 mesh |
| Chemical | ABS Plastics | Chromic acid solution |
I found mechanical polishing with 200-400 mesh sandpaper particularly satisfying—it’s akin to watching a craftsman at work.
Sensitization and Activation Treatment
Sensitization was like prepping a canvas with a primer. I’d use stannous chloride, letting it rest on the surface before dipping the parts in palladium chloride. This step felt like magic—creating invisible hands ready to grasp the plating. For effective activation, immerse parts in palladium chloride solution for 1-2 minutes to evenly coat with palladium ions, making it receptive to plating2.
Chemical Plating (Optional)
Sometimes, I’d go the extra mile with a layer of nickel—like adding a primer before painting. This optional step can be crucial for tricky materials or when aiming for a flawless final layer.
Electroplating Process
Selecting the right hanger was always an art in itself. It needed to hold the part just right in the solution.
The chemistry nerd in me loved balancing parameters like current density and temperature to ensure everything came out just right.
| Parameter | Control Range |
|---|---|
| Current Density | 2-5 A/dm² |
| Temperature | 50-60℃ |
Post-treatment
Finally, post-treatment was all about bringing it home. A rinse with deionized water and careful drying—sometimes natural, sometimes with a drying box—set the stage for quality inspection. Checking for any imperfections felt like inspecting an art piece under gallery lights, ensuring that every product met my high standards for defect-free products3.
Ethanol is used for cleaning injection molded parts.True
Ethanol is effective in removing oil and contaminants from surfaces.
Mechanical polishing uses 100-200 mesh sandpaper.False
Mechanical polishing typically uses 200-400 mesh sandpaper.
Why is Chemical Plating Important in Manufacturing?
Ever wondered how your phone or laptop gets that sleek, metallic finish?
Chemical plating forms a consistent metal layer on surfaces without electricity, essential for hard-to-plate materials, enhancing adhesion and protection.
Understanding Chemical Plating
Imagine trying to coat a bumpy, oddly-shaped toy with paint. It would be tricky, right? Now, think about covering complex surfaces with metal. That’s where chemical plating comes in, also known as electroless plating. Unlike electroplating, which needs electricity, this process relies on a chemical reaction to evenly distribute metal over surfaces, even the quirky ones.
Injection Part Construction
-
Surface Cleaning:
I remember the first time I tried cleaning an injection part. It was like scrubbing away years of grime from an old bicycle I found in my grandparent’s garage. First up, surface cleaning is all about removing oils and mold release agents—kind of like washing greasy dishes but with precision. For instance, soaking parts in ethanol solution4 for 10-15 minutes works wonders. -
Surface Roughening:
Then comes surface roughening. Picture polishing a gemstone; you need to make the surface just rough enough to hold onto the shiny stuff we’re adding next. For ABS plastics, chemical polishing5 with a chromic acid solution helps achieve this.
| Step | Description |
|---|---|
| Surface Cleaning | Removes oil and mold agents with solvents like ethanol |
| Surface Roughening | Enhances adhesion through mechanical/chemical polishing |
| Sensitization & Activation | Prepares surface with reducing substances and catalysts |
Sensitization and Activation
I once heard someone compare sensitization to priming a wall before painting. It’s all about getting the surface ready to absorb what comes next. Here, it’s about using stannous chloride so the surface can embrace precious metals like palladium chloride, creating active centers for subsequent plating6.
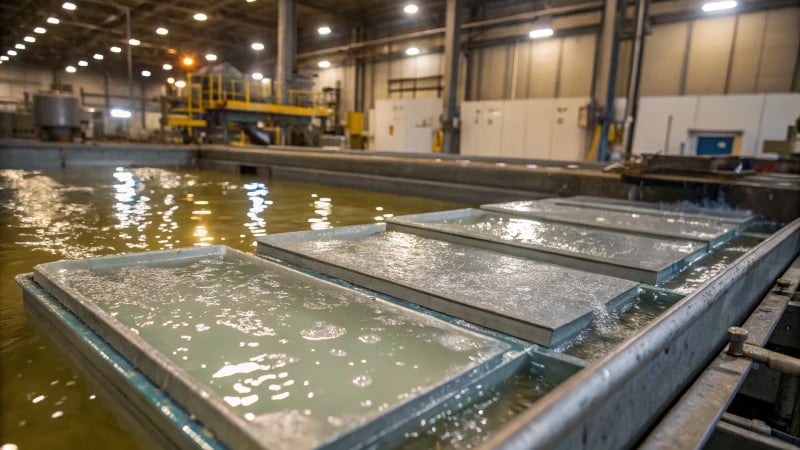
Chemical Plating Principles
-
Principle:
Chemical plating lays down a solid base layer on tough-to-plate materials. Think of it as applying a primer before painting a masterpiece. Often, a nickel layer goes on first, setting the stage for further electroplating. -
Process:
Picture this: the substrate takes a dip in a plating tank filled with nickel salt solution at specific temperatures and pH levels.Material Temperature pH Level Duration Nickel 80-90°C 4.5-5.5 1-2 hrs
This careful process results in a uniform nickel layer7, providing a sturdy foundation for adding layers like copper or chromium later on.
Advantages Over Traditional Methods
When I think of chemical plating, I think of wrapping gifts—you want every corner covered perfectly. That’s what chemical plating does—ensures even coverage on intricate parts without needing electricity.
Chemical plating offers distinct benefits:
- Uniform Coverage: Ensures even coating on intricate parts without needing electricity.
- Improved Adhesion: Provides better binding surfaces for future electroplating.
- Versatility: Suitable for various materials, enhancing manufacturing flexibility.
Without the need for electricity, this method reduces equipment costs while delivering consistent quality, making it an appealing choice for manufacturers seeking efficiency and excellence.
Chemical plating requires an electric current.False
Chemical plating relies on an autocatalytic reaction, not electricity.
Chemical plating offers uniform coverage on complex parts.True
The process ensures even coating on intricate geometries.
How do I choose the right electroplating solution for injection molded parts?
Ever been stumped by the endless options for electroplating your injection molded parts? Trust me, I know the feeling. Let’s dive into what really matters.
To choose the right electroplating solution for injection molded parts, consider desired finish, material compatibility, and application needs. Ensure proper surface cleaning, roughening, and activation for a successful electroplating process.
Understanding Injection Part Construction
Before diving into selecting an electroplating solution, it’s essential to grasp the basics of injection part construction. This involves cleaning, surface roughening, and sensitization.
Cleaning the Surface: Use special plastic cleaners or organic solvents like ethanol to remove contaminants. For instance, oily surfaces can be soaked in ethanol for 10-15 minutes.
Surface Roughening: Mechanical or chemical polishing can increase surface roughness, improving the coating power. For ABS plastics8, a chromic acid-sulfuric acid solution works well.
Sensitization and Activation: Applying stannous chloride solution for sensitization and palladium chloride for activation prepares surfaces for plating.
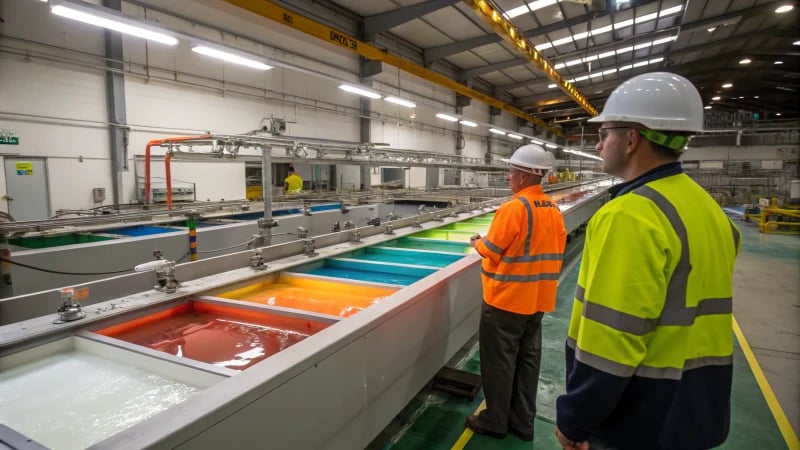
Exploring Chemical Plating Options
Chemical plating offers an alternative to traditional electroplating methods by depositing metal through chemical reactions, eliminating the need for external power sources.
- Principle: Ideal for materials challenging to electroplate directly. A nickel layer can enhance bonding for subsequent copper or chromium layers.
- Process: Use a chemical nickel plating solution with nickel salt, reducing agents, and buffers. Reactions typically occur at 80-90℃ over 1-2 hours.
Electroplating Process Essentials
To ensure high-quality results, consider key electroplating process parameters: hanger selection, plating solution composition, and parameter control.
Hanger Selection: Ensure hangers fit the part’s shape and size. For complex parts, custom designs might be necessary to maintain proper positioning9.
Plating Solution Selection: Choose based on metal type; copper solutions often use copper sulfate, while nickel solutions use nickel sulfate. Additives like brighteners can improve appearance.
Parameter Control: Maintain optimal current density (2-5A/dm²), time (10-30 minutes), and temperature (50-60℃) to achieve quality layers.
Post-Treatment Steps
After electroplating, follow post-treatment procedures to ensure durability and appearance:
- Cleaning: Remove residual solution with clean water or specialized cleaners. Improper cleaning can cause fading or corrosion.
- Drying: Use ambient air or heated drying methods. Ensure parts are thoroughly dried to prevent defects.
- Quality Inspection: Check appearance and thickness; rework if necessary. For instance, insufficient thickness requires re-electroplating.
Decision-Making Table: Electroplating Solutions
| Metal Type | Common Solution | Additives Needed | Typical Applications |
|---|---|---|---|
| Copper | Copper Sulfate | Leveling Agents | Electrical Conductivity |
| Nickel | Nickel Sulfate | Brighteners, Stabilizers | Corrosion Resistance, Aesthetics |
| Chromium | Chromic Acid | Wetting Agents | Wear Resistance |
Consider each element carefully to optimize your electroplating approach for injection molded parts. Explore more options10 if you’re looking to tailor solutions that meet your production demands.
Ethanol is used for cleaning oily injection molded surfaces.True
Ethanol effectively removes contaminants from oily surfaces in 10-15 minutes.
Chromic acid is used for sensitizing ABS plastic surfaces.False
Chromic acid is used for roughening, not sensitizing, ABS plastic surfaces.
Why is post-treatment essential after electroplating?
Have you ever wondered why post-treatment after electroplating matters so much?
Post-treatment after electroplating is crucial because it cleans off leftover chemicals, boosts adhesion and corrosion resistance, and ensures the electroplated layer meets quality standards.
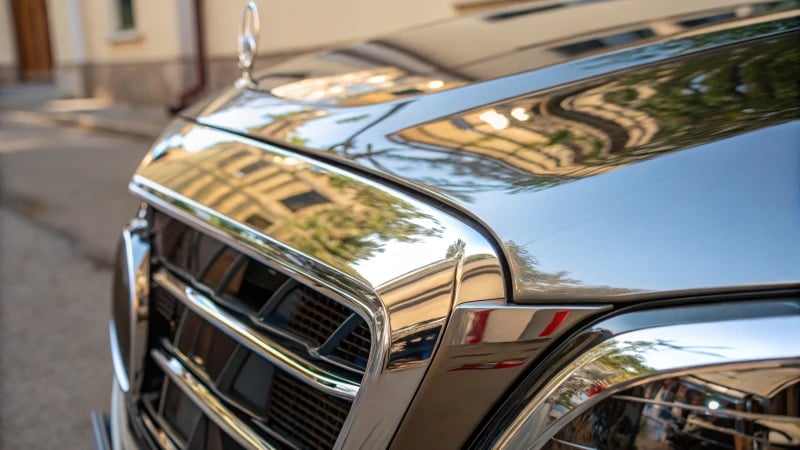
Cleaning: The First Step to Perfection
When I first got into the world of electroplating, I didn’t realize how crucial the cleaning step was. Imagine this: you’re trying to get a perfect finish on your car’s chrome bumper, but leftover chemicals from plating decide to stick around, leading to fading or even rust. A good rinse with running water and a soak in deionized water11 is like giving your project a fresh start.
Ensuring Proper Drying
Drying might seem straightforward, but trust me, it’s a game-changer. Think about those annoying water spots on your glasses after washing them – not pretty, right? The same goes for plated surfaces. Whether you’re air drying or using a drying box for rapid results12, keeping the temperature between 50-80℃ is key to avoiding thermal damage.
| Drying Method | Advantages |
|---|---|
| Air Drying | Cost-effective |
| Box Drying | Faster, controlled |
Quality Inspection: An Integral Step
I learned early on that inspection isn’t just about finding flaws; it’s about ensuring perfection. Checking for uniform color, gloss, and defects like pinholes or pitting saves you from bigger headaches later on. It’s satisfying to see parts pass muster with thickness measurement tools.
Influence of Post-Treatment on Adhesion and Durability
There’s nothing worse than seeing your hard work fall apart because of poor adhesion. Proper post-treatment can make a world of difference, especially in high-wear environments where durability is non-negotiable.
Addressing Surface Defects
No one likes dealing with defects, but they happen. The good news is that post-treatment can smooth things over. Grinding or polishing can be your best friends when it comes to aesthetic consistency13.
The Role of Post-Treatment in Enhancing Corrosion Resistance
I’ve seen parts that looked great at first but didn’t hold up over time. That’s where post-treatment comes in. By sealing the surface, you’re essentially giving your project a fighting chance against environmental factors that cause corrosion.
Proper drying prevents water spots on electroplated surfaces.True
Controlled drying methods eliminate moisture, preventing spots and enhancing appearance.
Post-treatment has no impact on corrosion resistance.False
Post-treatment seals surfaces, reducing environmental exposure and enhancing corrosion resistance.
What Are the Common Challenges and Solutions in Plating Injection Molded Parts?
Ever tried plating injection molded parts? It’s like trying to get peanut butter to stick to a hot knife. Tricky, but oh-so-satisfying when done right!
Plating injection molded parts often faces adhesion issues, surface flaws, and inconsistent results. Solutions include thorough surface preparation, precise plating control, and careful post-treatment.
Surface Preparation: The Foundation of Success
The construction of injection parts14 plays a critical role in the success of plating. I remember the first time I tried cleaning an injection part—it was almost like scrubbing stubborn stains off a favorite t-shirt. You need to start by thoroughly cleaning the part to remove oils and mold release agents, which can be as persistent as gum on a shoe. Using organic solvents like ethanol or acetone can ensure the surface is clean and ready for plating.
Surface roughening enhances coating adhesion. It’s like sanding wood before varnishing; without it, the finish just won’t hold. This can be achieved through mechanical polishing with sandpaper or chemical polishing using solutions like chromic acid-sulfuric acid. This step is crucial for creating a surface that can hold the plating layer effectively.
Adhesion Challenges and Solutions
Adhesion issues are pretty common, and I’ve faced them more times than I’d like to admit. It often boils down to how well the surface is prepared. Sensitization and activation treatments are key to resolving this.
| Step | Description |
|---|---|
| Sensitization | Adsorb reducing substances using stannous chloride |
| Activation | Apply palladium chloride to create active centers |
By treating the surface with stannous chloride, followed by a palladium chloride catalyst, active centers are created for better plating adhesion.
Chemical and Electroplating Processes
Chemical plating lays a foundation that enhances electroplating. It’s especially useful for materials that don’t readily accept electroplating. Think of it as laying down the red carpet for electroplating; nickel is commonly used here because it creates a solid base layer, providing a good bonding surface for subsequent copper or chromium layers.
When selecting a plating solution, consider the type of metal to be plated—it’s like picking the right flavor of ice cream to complement your dessert. Copper sulfate solutions are ideal for copper plating, whereas nickel sulfate solutions suit nickel plating.
Fine-tuning electroplating parameters is an art. Control over current density, time, and temperature is vital—like baking a cake; too much or too little, and it won’t come out right. Optimal conditions vary by product requirements, but generally maintaining a current density of 2-5 A/dm² at 50-60°C yields quality results.
Post-Treatment: Ensuring Longevity
Post-treatment steps like thorough cleaning and drying are crucial—think of them as the final polish before showing off your masterpiece—for preventing issues such as fading or corrosion. Use running water followed by deionized water for cleaning; drying can be achieved naturally or with heat, ensuring parts are ready for inspection.
Then comes the inspection—checking appearance for uniform color and gloss, measuring thickness with a gauge, and assessing coating force ensures everything is up to par. Any parts failing inspection might need reworking or repairs through methods like grinding or polishing.
By understanding these challenges and solutions in plating injection molded parts15, we can ensure our products not only look good but stand the test of time.
Surface roughening is crucial for plating adhesion.True
Roughening enhances the surface, improving the adhesion of the plating layer.
Nickel is not used as a base layer in chemical plating.False
Nickel is commonly used as a base layer to enhance electroplating adhesion.
Conclusion
This guide outlines essential steps for plating injection molded parts, including cleaning, roughening, sensitization, electroplating, and post-treatment to achieve a high-quality metallic finish.
-
Discover effective cleaning techniques that enhance the adhesion of electroplated layers. ↩
-
Learn how palladium chloride treatment prepares surfaces for successful electroplating. ↩
-
Explore methods to ensure your electroplated products meet high-quality standards. ↩
-
Ethanol effectively removes oils and contaminants from injection parts without damaging the surface. ↩
-
Chemical polishing enhances surface roughness, improving adhesion for further plating processes. ↩
-
Activation creates necessary reaction sites, facilitating effective chemical plating. ↩
-
Chemical nickel plating provides a robust foundation for additional electroplating layers. ↩
-
Discover why chromic acid-sulfuric acid solutions are effective for ABS plastics. ↩
-
Learn about custom hanger designs that ensure proper part positioning during electroplating. ↩
-
Explore a variety of electroplating solutions suitable for diverse manufacturing needs. ↩
-
Learn how deionized water removes impurities, ensuring a spotless finish for electroplated materials. ↩
-
Discover how drying boxes offer rapid and controlled drying conditions for optimal electroplating results. ↩
-
Find out methods to maintain aesthetic consistency in electroplated finishes through post-treatment processes. ↩
-
Click to explore detailed methods for preparing injection parts for plating, ensuring better adhesion and quality results. ↩
-
Learn more about overcoming common challenges in plating injection molded parts for improved outcomes. ↩