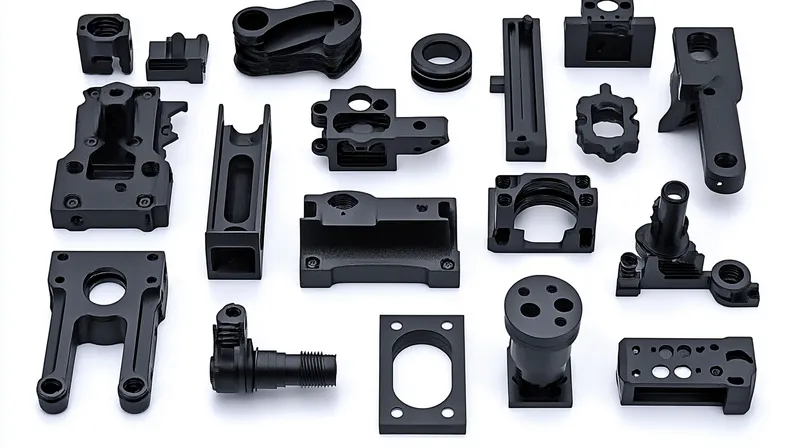
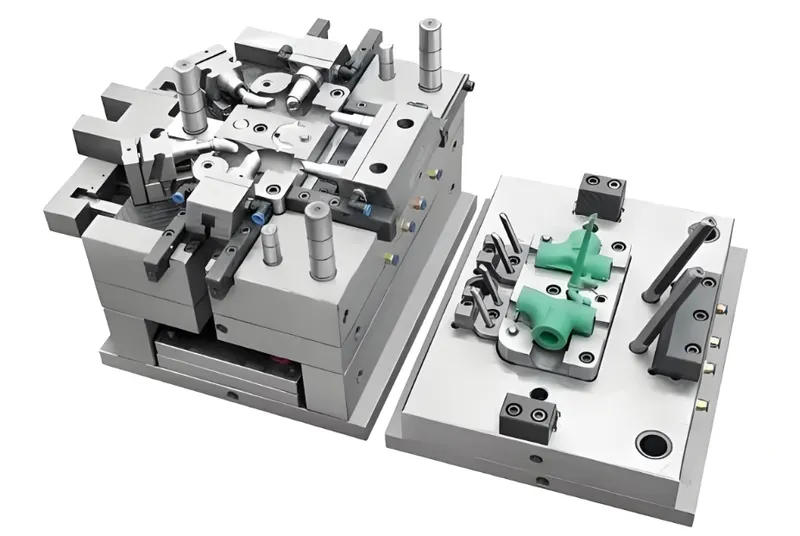
Injection molding is a cornerstone of modern manufacturing, producing precise plastic parts for industries ranging from automotive to medical devices. However, achieving the desired surface finish often requires more than just molding the shape—texturing injection molded surfaces1 can enhance both aesthetics and functionality. Whether you’re aiming to improve grip, hide imperfections, or create a premium look, effective texturing is key. But how can you texture injection molded surfaces effectively? This guide explores methods, materials, processes, and practical tools to help you succeed.
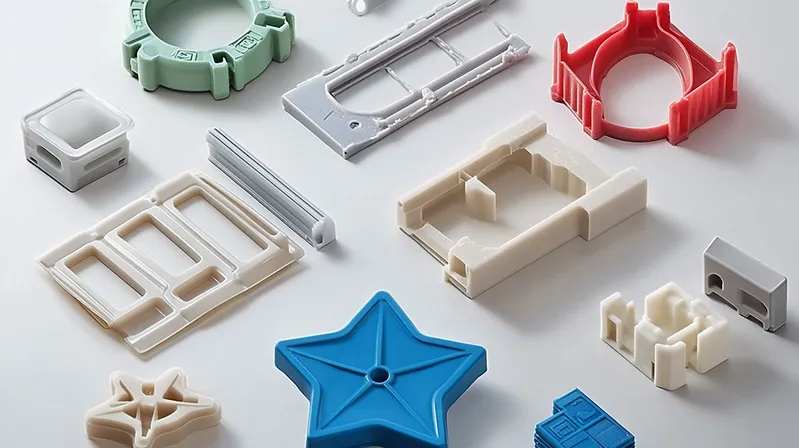
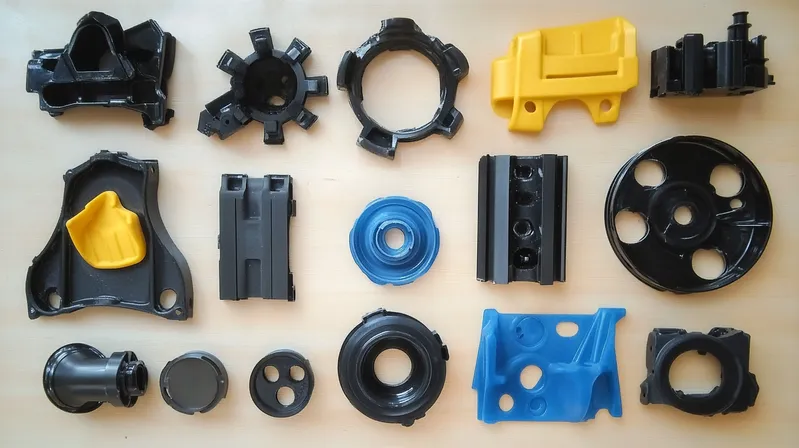
Texturing injection molded surfaces involves applying patterns or finishes to the mold, which are then transferred to the plastic part during molding. This process enhances aesthetics, improves grip, and can mask defects, making it vital for industries like automotive, consumer electronics, and medical devices.
By mastering texturing, you can elevate product quality and streamline production. Let’s dive into the essentials, from common methods to material considerations and beyond.
Texturing during molding is more cost-effective for high-volume production.True
Integrating texturing into the molding process ensures consistent results across large runs, reducing per-part costs compared to post-molding treatments.
Texturing is only used for aesthetic purposes.False
Beyond aesthetics, texturing improves functionality by enhancing grip, reducing glare, and concealing surface imperfections.
- 1. What Are the Common Methods for Texturing Injection Molded Surfaces?
- 2. How Do Different Materials Affect Texturing Outcomes?
- 3. What Are the Steps in the Texturing Process for Injection Molding?
- 4. What Are the Key Considerations for Effective Texturing?
- 5. What Are the Differences Between Texturing During Molding and Post-Molding Treatments?
- 6. Conclusion
What Are the Common Methods for Texturing Injection Molded Surfaces?
Texturing methods vary depending on the desired outcome, material, and application. Selecting the right approach is crucial for balancing cost, precision, and production needs.
Common texturing methods include mechanical (sanding, polishing), electrical (EDM), chemical (etching), and laser techniques, each tailored to specific textures and materials.
| Method | Best For | Pros | Cons |
|---|---|---|---|
| Sanding & Polishing | Smooth, semi-gloss finishes | Cost-effective, simple | Limited to basic patterns |
| EDM Spark Erosion2 | Complex, deep patterns | High precision, durable | Higher cost, slower process |
| Media Blasting | Matte, rough finishes | Quick, easy to apply | Less control over fine details |
| Chemical Photo Etching3 | Intricate, precise patterns | High detail, material versatility | Chemical handling, environmental concerns |
| Laser Etching | High-precision, fine details | Extremely accurate, clean process | Expensive equipment, slower |
Mechanical Methods: Sanding and Polishing
Sanding and polishing are accessible techniques for creating smooth or semi-gloss finishes. Ideal for household goods or simple consumer products, these methods are affordable but lack the ability to produce intricate or deep textures.
Electrical Methods: EDM Spark Erosion
Electrical Discharge Machining (EDM)4 excels at crafting complex patterns like wood grain or leather textures, often seen in automotive interiors. Its precision comes at a cost—higher expenses and longer processing times make it best for high-value applications.
Chemical Methods: Photo Etching
Chemical photo etching5 uses etchants to create detailed patterns, perfect for branding or decorative elements on consumer electronics. It’s versatile across materials but requires careful chemical management and consideration of environmental impact.
Laser Etching
Laser etching offers unmatched precision for fine details, making it a favorite for medical devices. Though the equipment is costly and the process slower, its accuracy justifies the investment for critical applications.
Laser etching is the most precise texturing method.True
Its ability to produce extremely fine details makes it ideal for high-precision needs like medical components.
All texturing methods are equally cost-effective.False
Costs differ widely; sanding is inexpensive but limited, while laser etching offers precision at a premium.
How Do Different Materials Affect Texturing Outcomes?
The plastic you choose significantly influences how well a texture transfers from mold to part. Material properties like viscosity and flow dictate the level of detail achievable.
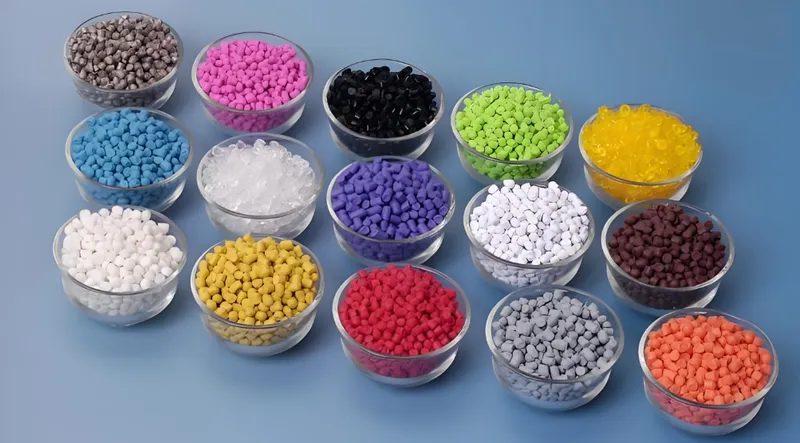
Material choice impacts texturing outcomes; low-viscosity plastics like ABS6 excel at fine details, while high-viscosity materials may struggle with texture replication.
| Material | Texture Suitability | Notes |
|---|---|---|
| ABS | Excellent for fine details | Low viscosity, good flow, versatile |
| Polycarbonate | Good for glossy finishes | May need adjustments for deep textures |
| Glass-Filled Nylon | Moderate, alters appearance | Fibers add sparkle, affect replication |
| High-Viscosity Plastics | Poor for fine details | Risk of voids in small recesses |
ABS (Acrylonitrile Butadiene Styrene)
ABS’s low viscosity7 and excellent flow make it a top pick for detailed textures. It’s widely used in consumer electronics and automotive parts where precision matters.
Polycarbonate
Polycarbonate shines in glossy applications like lenses but may require mold tweaks for deeper textures due to its flow characteristics.
Glass-Filled Nylon
This durable material’s glass fibers can create a unique sparkly finish, though they complicate replication of fine details. It’s suited for rugged applications where texture appearance may vary.
High-Viscosity Plastics
Materials like some polypropylenes struggle to fill small mold recesses, limiting their use to simpler textures. They’re better for applications prioritizing durability over detail.
ABS is the best material for detailed texturing.True
Its low viscosity ensures accurate replication of fine mold details.
All plastics can achieve the same texture detail.False
Viscosity and flow properties determine how well textures transfer, varying by material.
What Are the Steps in the Texturing Process for Injection Molding?
Texturing is a structured process that demands attention to detail at every stage, from design to production.
The texturing process8 involves designing the texture, selecting the method, preparing the mold, applying the texture, and verifying results through testing.
-
Design the Texture
Define the texture based on the part’s aesthetic and functional goals—think matte finishes for grip or leather patterns for luxury.
-
Select the Method
Match the method to the texture complexity and material, e.g., sanding for basics or laser etching for precision.
-
Prepare the Mold
Clean and mask the mold to target specific areas, ensuring texture application is precise.
-
Apply the Texture
Use the chosen method—sanding, EDM, chemical etching, or laser—to texture the mold surface.
-
Post-Processing
Refine the mold to remove defects, ensuring a uniform texture for molding.
-
Testing and Verification
Produce sample parts to confirm the texture meets specs, adjusting as needed.
-
Production
Launch full production with a verified mold for consistent, high-quality results.
Testing and verification are optional steps.False
Testing ensures the texture aligns with design goals, preventing costly production errors.
The texturing process can be fully automated.True
Methods like laser etching can be automated, though some, like sanding, may need manual precision.
What Are the Key Considerations for Effective Texturing?
Success hinges on aligning texturing with your project’s goals, materials, and scale.
Key considerations include matching texture to functionality, ensuring material compatibility9, and balancing production volume with costs.
-
Align Texture with Functionality
Choose textures that enhance the part’s purpose—non-slip for handles, glossy for decor.
-
Ensure Material Compatibility
Pair low-viscosity plastics with detailed textures and simpler finishes with high-viscosity options.
-
Consider Production Volume
Texturing during molding saves money in high volumes; post-molding suits smaller runs.
-
Evaluate Costs
Weigh higher mold costs for complex textures against per-part savings in large-scale production.
Texturing always increases molding costs.False
While mold costs rise initially, high-volume texturing can lower per-part expenses.
Material selection is the most important factor in texturing.True
Flow properties directly affect texture replication, making material choice critical.
What Are the Differences Between Texturing During Molding and Post-Molding Treatments?
Texturing can occur during molding or as a post-process, each with distinct advantages.
Texturing during molding10 embeds the finish in the part for consistency and cost savings in high volumes, while post-molding treatments offer flexibility for small runs or unique finishes.
| Approach | Pros | Cons |
|---|---|---|
| During Molding | Consistent, cost-effective for scale, complex patterns | Higher mold cost, less flexible |
| Post-Molding | Flexible, defect coverage, easy changes | Extra step, wear over time |
Texturing During Molding
Ideal for large runs, this method ensures uniformity and supports intricate designs via EDM or laser etching, though it demands upfront mold investment.
Post-Molding Treatments
Painting or coating post-molding offers versatility for small batches or defect correction but adds steps and may wear over time.
Post-molding treatments are always more expensive.False
For small runs, they can be cheaper due to lower setup costs.
Texturing during molding excels at complex patterns.True
Methods like EDM enable intricate designs hard to replicate post-molding.
Conclusion
Texturing injection molded surfaces blends art and science, enhancing both form and function. By understanding methods, materials, and processes, you can optimize your approach for quality and efficiency. Whether you’re crafting automotive interiors or medical tools, effective texturing can distinguish your products.
-
Explore advanced techniques for texturing injection molded surfaces to enhance aesthetics and functionality in your products. ↩
-
Learn about EDM Spark Erosion, a precise method for creating complex patterns in manufacturing, ideal for high-value applications. ↩
-
Discover the versatility and precision of Chemical Photo Etching for intricate designs in various materials, essential for modern manufacturing. ↩
-
Explore the benefits of EDM for precision machining, especially for complex patterns in high-value applications. ↩
-
Learn about the versatility and applications of chemical photo etching in creating detailed patterns for various materials. ↩
-
Discover why low-viscosity plastics like ABS are ideal for achieving fine details in manufacturing processes. ↩
-
Understanding low viscosity can enhance your material selection for precision applications, ensuring optimal results in production. ↩
-
Exploring the texturing process can provide insights into achieving high-quality finishes and meeting design specifications effectively. ↩
-
Learning about material compatibility is crucial for successful production, helping to avoid costly errors and ensuring product quality. ↩
-
Explore the advantages of texturing during molding to understand how it can enhance product consistency and reduce costs in high-volume production. ↩