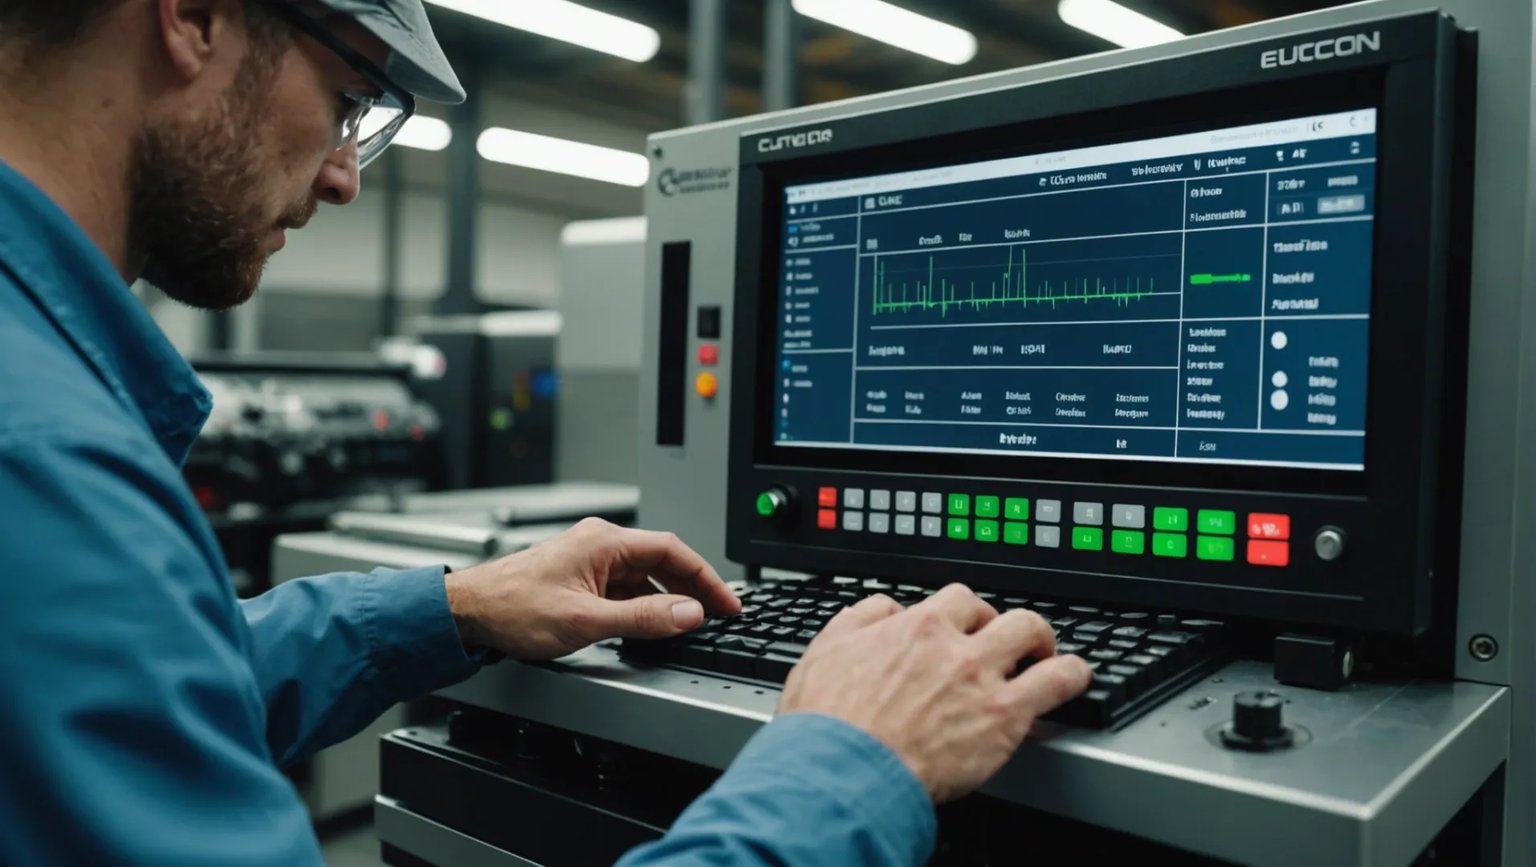
Injection molding is a fascinating process that requires precision and care. I’ve learned that even the tiniest tweaks can lead to remarkable improvements in product quality.
To reduce defective rates in injection molding, adjust key parameters such as temperature, pressure, speed, and time. Each parameter impacts the quality of the final product and must be finely tuned based on specific manufacturing needs and material characteristics.
Understanding the importance of these parameters is just the beginning. Let’s dive deeper into each adjustment, where I’ll share insights that can help you tackle your specific manufacturing challenges.
Adjusting mold temperature reduces injection molding defects.True
Proper mold temperature enhances material flow, reducing surface defects and improving product quality.
What Are the Key Temperature Adjustments in Injection Molding?
Temperature control is critical in injection molding, influencing product quality and production efficiency.
Key temperature adjustments in injection molding involve regulating barrel and mold temperatures to optimize material flow and reduce defects. Proper settings depend on the specific material and product requirements, balancing between melt flow and cooling efficiency.
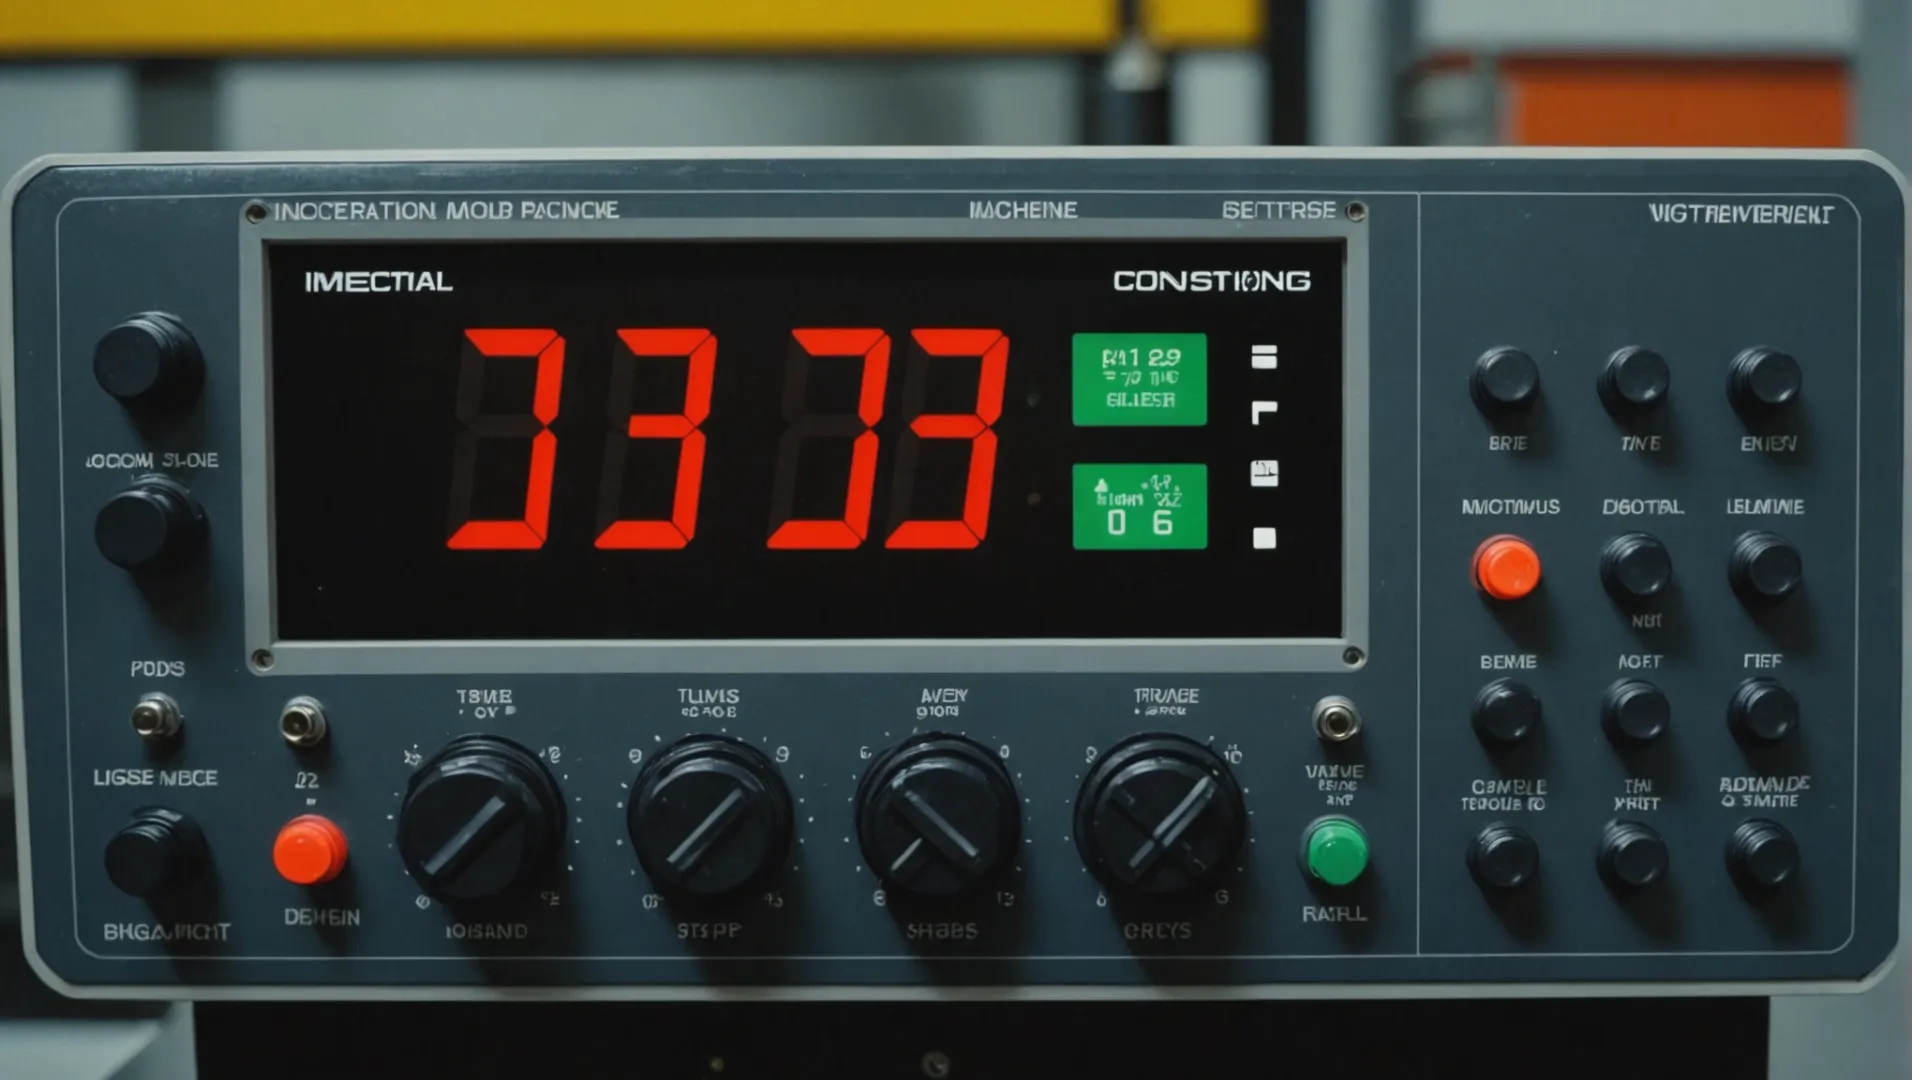
Adjusting Barrel Temperature
The barrel temperature significantly influences how the plastic melts and flows into the mold.
-
High Barrel Temperature: If products exhibit issues like silver streaks or bubbles, it could be due to excessive barrel temperature, which causes plastic degradation. For instance, decreasing the temperature from 230°C, 240°C, and 250°C to 220°C, 230°C, and 240°C can mitigate these defects.
-
Low Barrel Temperature: Conversely, low barrel temperatures may lead to cold material marks or insufficient filling. Gradually increasing temperatures—e.g., from 200°C, 210°C, and 220°C to 210°C, 220°C, and 230°C—can improve flow and filling.
Optimizing Mold Temperature
Mold temperature adjustments are crucial for achieving desired surface quality and dimensional accuracy.
-
High Mold Temperature: This can be beneficial for products requiring a high-quality surface finish. Raising mold temperatures, for example from 50°C to 60°C, helps achieve better surface aesthetics by allowing the plastic to flow more smoothly and fill the mold cavity completely.
-
Low Mold Temperature: Lowering mold temperatures, such as from 80°C to 70°C, can aid in quicker cooling, reducing cycle times and potentially increasing production efficiency.
Balancing Temperature Adjustments
A systematic approach is essential when adjusting these parameters. Only change one parameter at a time to assess its impact accurately. Document every change and its effect on the product quality. This practice not only helps in troubleshooting but also in identifying optimal conditions for specific materials and products.
For further insights into temperature control strategies1 in injection molding, understanding the interplay between these settings can guide you to a more efficient production process.
High barrel temperature causes plastic degradation.True
Excessive heat leads to issues like silver streaks or bubbles.
Low mold temperature improves surface quality.False
Higher mold temperatures enhance surface aesthetics by smoothing flow.
How Does Pressure Impact Injection Molding Quality?
In injection molding, pressure plays a critical role in determining product quality, affecting everything from filling to finish.
Pressure in injection molding is pivotal as it affects fill quality, product density, and defect rates. Proper adjustment of injection and holding pressures ensures optimal filling, minimizes defects like warping and shrinkage, and maintains structural integrity.
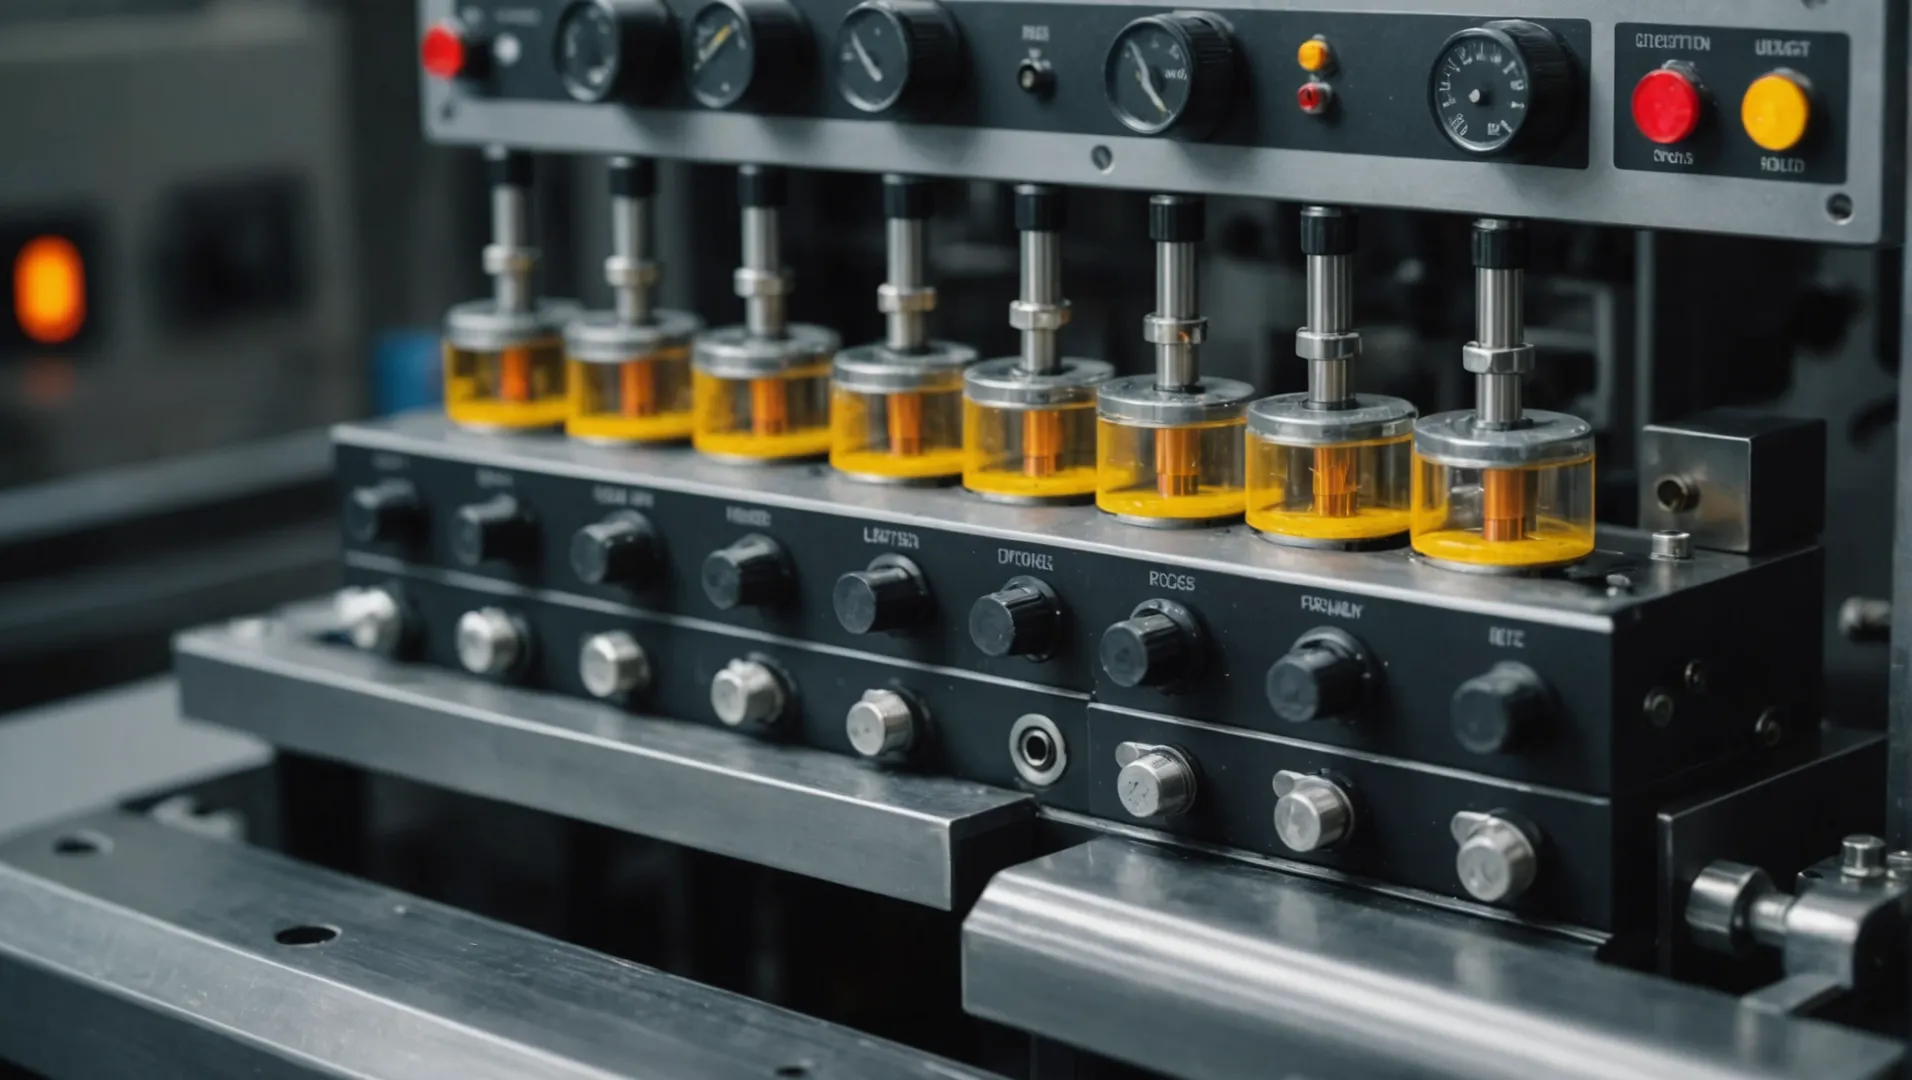
Understanding Injection Pressure
Injection pressure is the force used to inject molten plastic into the mold cavity. This parameter significantly influences the filling process and the quality of the final product. High injection pressure ensures that the plastic reaches all areas of the mold, reducing issues like short shots or incomplete filling.
For instance, if you notice your products have short shots or insufficient filling, consider increasing the injection pressure slightly. For example, an increase from 80MPa to 90MPa can help achieve better filling. However, excessive pressure can lead to problems like flash or difficulty in demolding, so balance is crucial.
The Role of Holding Pressure
Once the mold is filled, holding pressure is applied to compensate for material shrinkage as it cools and solidifies. Adjusting holding pressure is essential to manage defects such as shrinkage marks and warping.
Increasing holding pressure can mitigate shrinkage and dents but must be done carefully to avoid stress concentration. Ideally, holding pressure should be between 50% to 80% of the injection pressure, tailored to the product’s size and shape. For example, with an injection pressure of 100MPa, a holding pressure range of 60MPa-80MPa might be optimal.
Balancing Pressure with Temperature
It’s essential to consider temperature when adjusting pressure settings. For instance, a high mold temperature might require lower injection pressure to avoid overfilling. Conversely, a low mold temperature might necessitate higher injection pressure to ensure complete filling without defects like cold material marks.
Case Study: Achieving Optimal Pressure Settings
Consider a scenario where a manufacturer is facing issues with warp and shrinkage2 in their products. By systematically adjusting holding pressure while monitoring results, they can fine-tune their process to reduce these defects significantly. This approach not only enhances product quality but also improves production efficiency by minimizing material waste.
This interplay between pressure settings demonstrates that understanding and controlling injection and holding pressures are vital for achieving consistent quality in injection molding.
High injection pressure reduces short shots.True
Increasing injection pressure ensures complete mold filling, reducing short shots.
Excessive holding pressure causes shrinkage marks.False
Properly adjusted holding pressure minimizes shrinkage marks, not excessive ones.
Why Is Speed Control Vital in Injection Molding Processes?
Injection molding demands precise control over numerous parameters, with speed being a crucial factor influencing product quality and production efficiency.
Speed control in injection molding is vital for ensuring product quality, preventing defects like burrs and burns, and optimizing cycle times. Proper speed adjustments allow for better filling of mold cavities and improve the overall manufacturing efficiency.
Importance of Injection Speed in Mold Filling
Injection speed significantly affects how the molten plastic fills the mold cavity. For thin-walled or complex-shaped products, a higher injection speed might be necessary to ensure that the material reaches all areas of the mold before it starts to solidify. However, this requires careful management to avoid defects such as spraying or burning.
For example, if a product exhibits insufficient filling or flow marks, increasing the injection speed from 50mm/s to 60mm/s can help fill the mold more efficiently. Yet, caution is needed to prevent potential issues like burrs, which may occur if the speed is too high.
Role of Screw Speed in Plasticization
The screw speed plays a pivotal role in the plasticization process. If the screw rotates too quickly, it may cause the plastic to overheat and decompose, leading to defects such as black spots. Conversely, a slower screw speed might result in poor plasticization, affecting both product quality and production efficiency.
Adjusting the screw speed from 100r/min to 80r/min can help mitigate overheating issues, while an increase from 60r/min to 70r/min may improve plasticization when encountering cold material marks.
Balancing Speed with Product Quality
Balancing speed adjustments is key to maintaining product quality. A faster injection speed aids in filling molds quickly but can also introduce defects if not carefully managed. Similarly, finding the right screw speed ensures that the material is adequately melted and mixed without compromising on quality.
Consider using a structured approach when adjusting speeds: change one parameter at a time, observe the effects on the final product, and document these changes meticulously to build a knowledge base. This methodical process can prevent issues arising from simultaneous adjustments.
Optimizing Speed for Efficiency
In addition to quality considerations, speed control also impacts production efficiency. Faster cycle times can increase output but must be balanced against the risk of quality issues. Fine-tuning speed parameters based on the specific needs of each product and material type can lead to improved efficiency without sacrificing quality.
Implementing a systematic approach to speed adjustments, such as gradually modifying speeds and monitoring outcomes, is crucial for optimizing injection molding processes. By leveraging precise speed control techniques3, manufacturers can achieve both high-quality products and efficient production cycles.
Higher injection speed prevents mold filling defects.True
Increasing speed ensures molten plastic reaches all areas before solidifying.
Faster screw speed always improves plasticization.False
Excessive speed can cause overheating and decomposition, leading to defects.
What Role Does Timing Play in Minimizing Defects in Injection Molding?
Timing adjustments in injection molding are pivotal to enhancing product quality and minimizing defects. Every second counts.
In injection molding, timing is crucial for ensuring product integrity. Properly adjusting injection and cooling times can prevent issues like insufficient filling, burrs, and deformation, leading to higher-quality outputs.
Understanding Timing in Injection Molding
Timing parameters in injection molding encompass various aspects such as injection time, cooling time, and overall cycle time. Each of these can have a profound impact on the final product’s quality.
Injection Time
The injection time is the duration taken to fill the mold cavity with molten plastic. If the injection time is too short, it can lead to insufficient filling or short shots. Conversely, an excessively long injection time might cause problems like overfilling or burrs.
For instance, a product that experiences short shots might require an extension of injection time from 2s to 3s, enhancing the mold’s filling without causing defects.
Cooling Time
Cooling time is essential for solidifying the plastic before demolding. Insufficient cooling can result in deformation or unstable dimensions post-demolding. Adjusting cooling time based on the material’s properties and thickness ensures dimensional stability and reduces defects.
Consider a scenario where a 3mm thick product’s original cooling time of 15s is inadequate, leading to deformation. Increasing this time to 20s could stabilize the product’s dimensions.
Best Practices for Timing Adjustments
- Single Parameter Adjustment: Always modify one parameter at a time to accurately gauge its impact on the product quality.
- Documentation: Keep detailed records of all changes and results to establish a reference for future production runs.
- Regular Equipment Checks: Ensure machinery is functioning optimally to avoid timing discrepancies affecting product quality.
Timing Table Example
| Parameter | Original Setting | Adjusted Setting |
|---|---|---|
| Injection Time | 2s | 3s |
| Cooling Time | 15s | 20s |
These adjustments illustrate how timing plays a critical role in minimizing defects during injection molding processes4. By carefully tuning these settings, manufacturers can enhance efficiency and product quality, ultimately reducing defect rates.
Increasing cooling time reduces deformation in products.True
Longer cooling times allow plastic to solidify properly, reducing deformation.
Shortening injection time prevents overfilling and burrs.True
Reducing injection time helps avoid excess material, preventing overfilling and burrs.
Conclusion
By strategically adjusting injection molding parameters, you can significantly enhance product quality while reducing defects. Embrace the process of trial and error to find the optimal settings for your needs.
-
Gain deeper insights into effective temperature management in injection molding.: The mold’s temperature should be controlled at 60 degrees Celsius to prevent stress cracking in plastics with good fluidity such as PE, PP, HIPS … ↩
-
Provides strategies to tackle common injection molding defects like warping.: If a dimensional shrinkage difference down the length of the part is the problem, reduce the plastic viscosity. This will reduce the pressure differences in the … ↩
-
Discover precise techniques for optimizing injection molding speed control.: Here are the 8 key parameters in injection molding that you need to align in order to produce consistent, high quality plastic parts. ↩
-
Learn how precise timing adjustments improve injection molding outcomes.: Injection molding cycle time or Cooling time is one of the major factors in improving and maintaining efficiency in the injection molding process. ↩

